I couldn’t find a comprehensive installation guide for strut brace bars, so I’ll go ahead and post my experience.
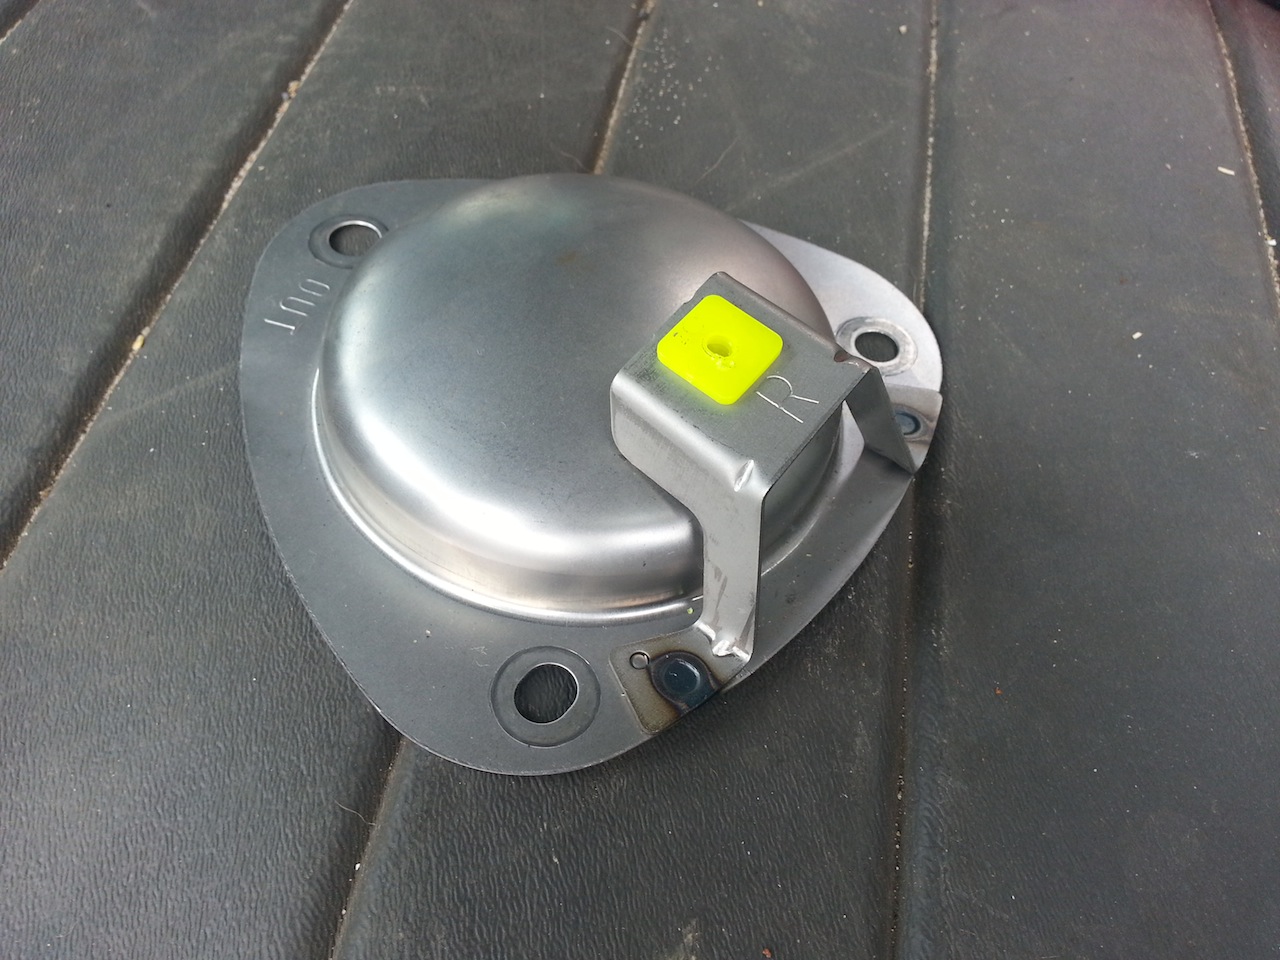
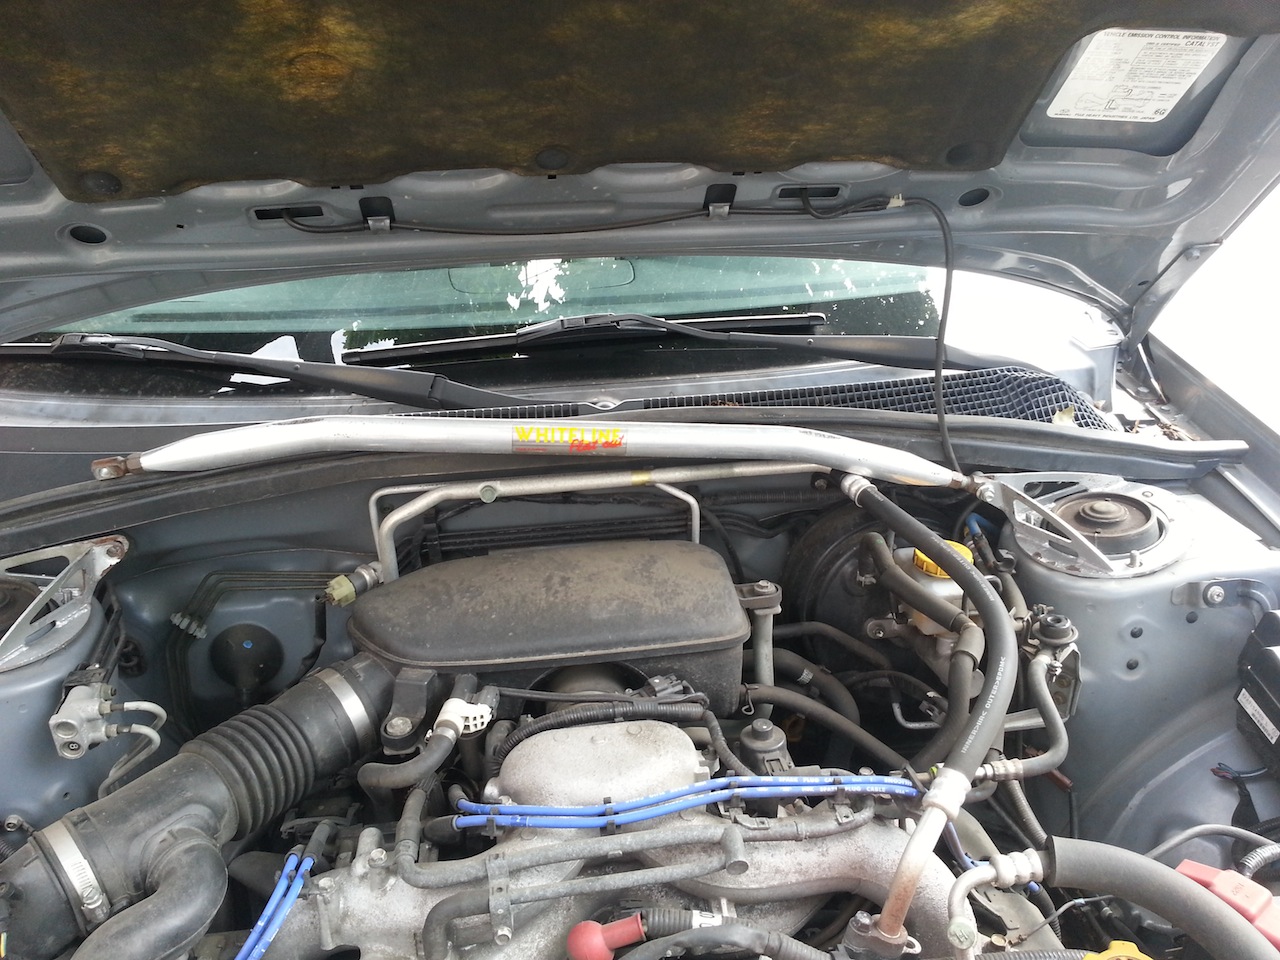
Apparently on the ’06 2.5X, this is a pain in the behind. The strut towers look pretty normal from the outside:
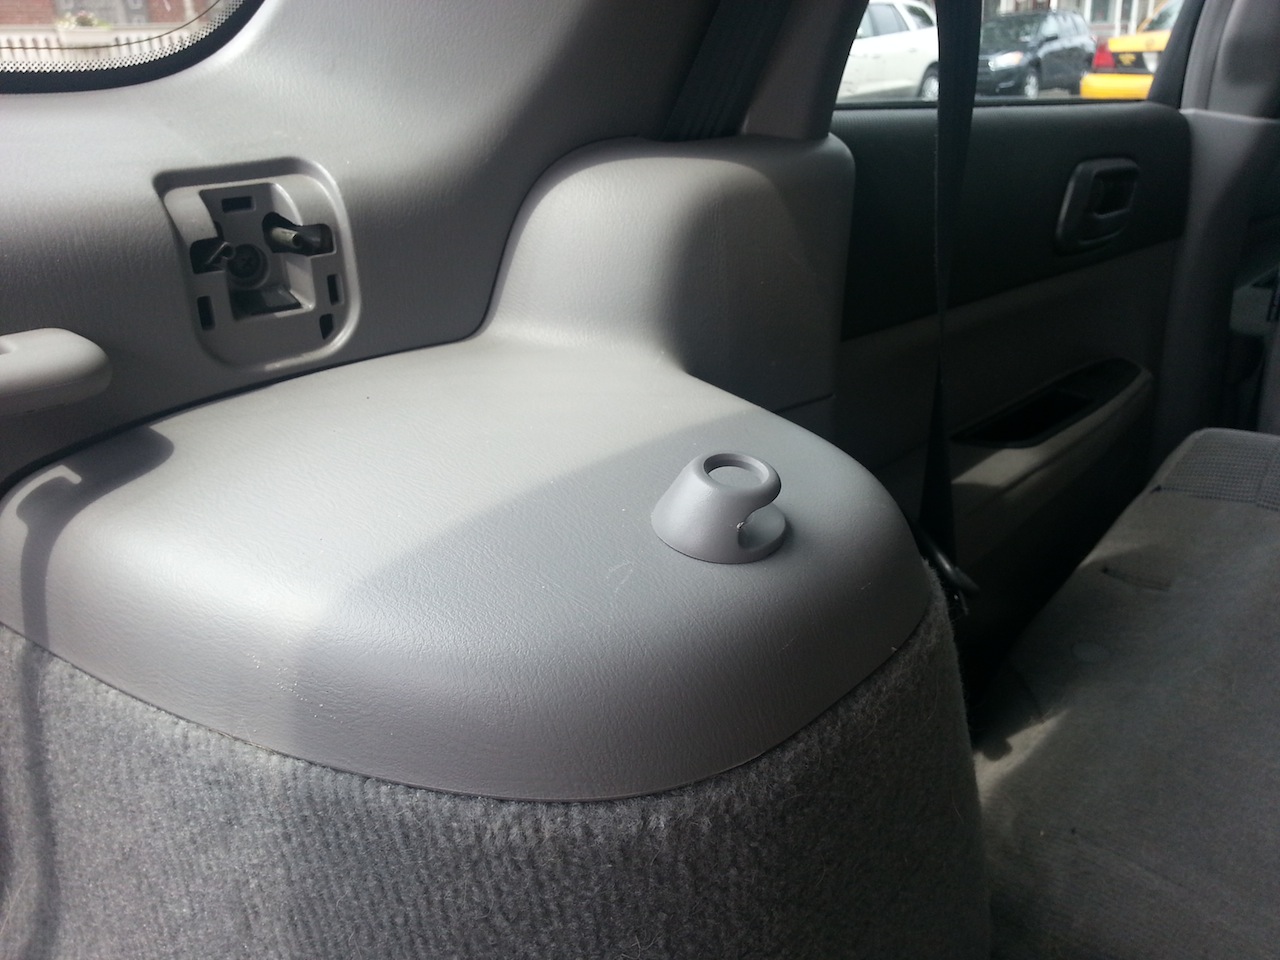
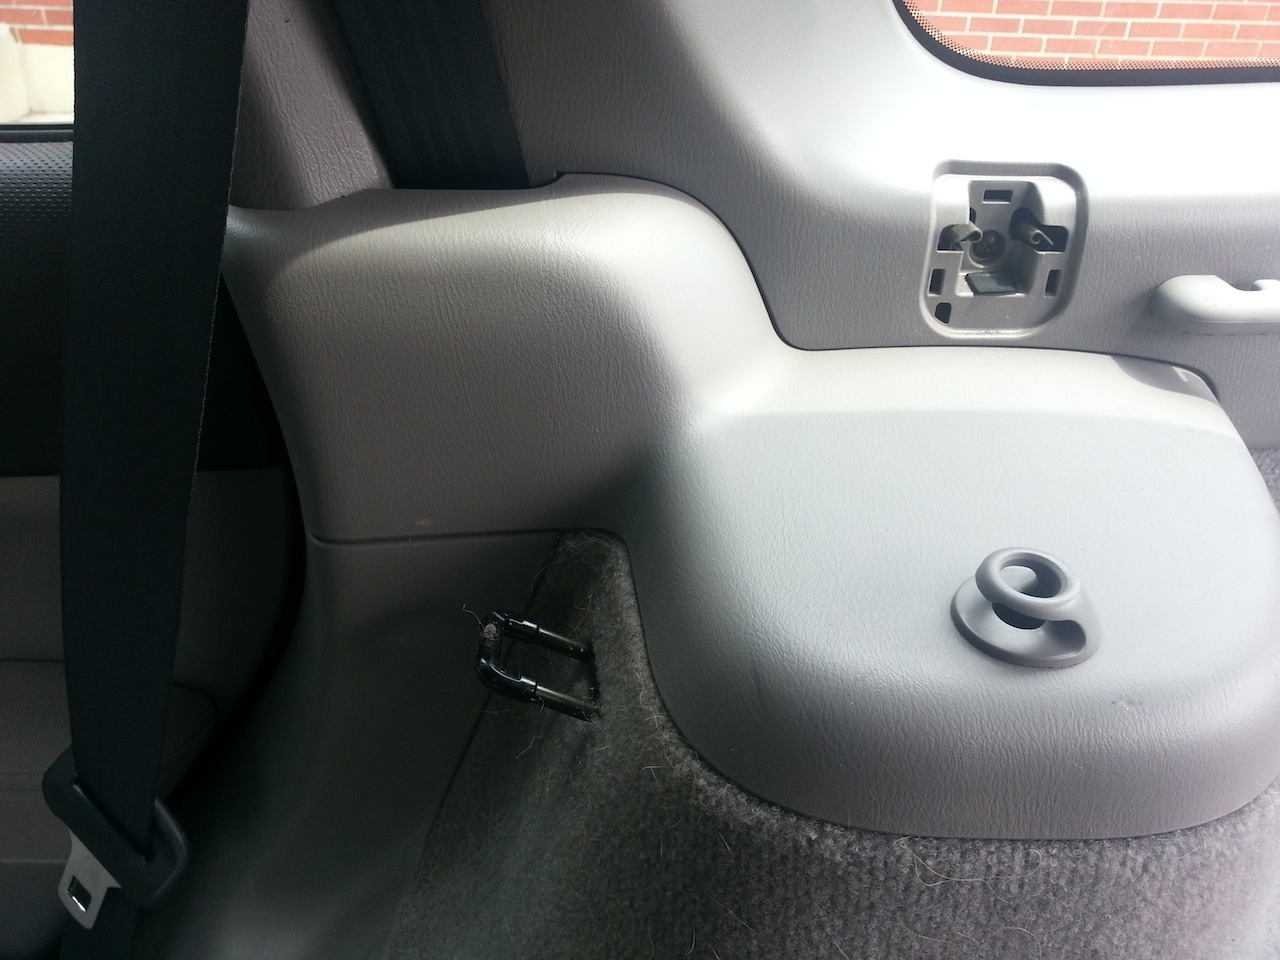
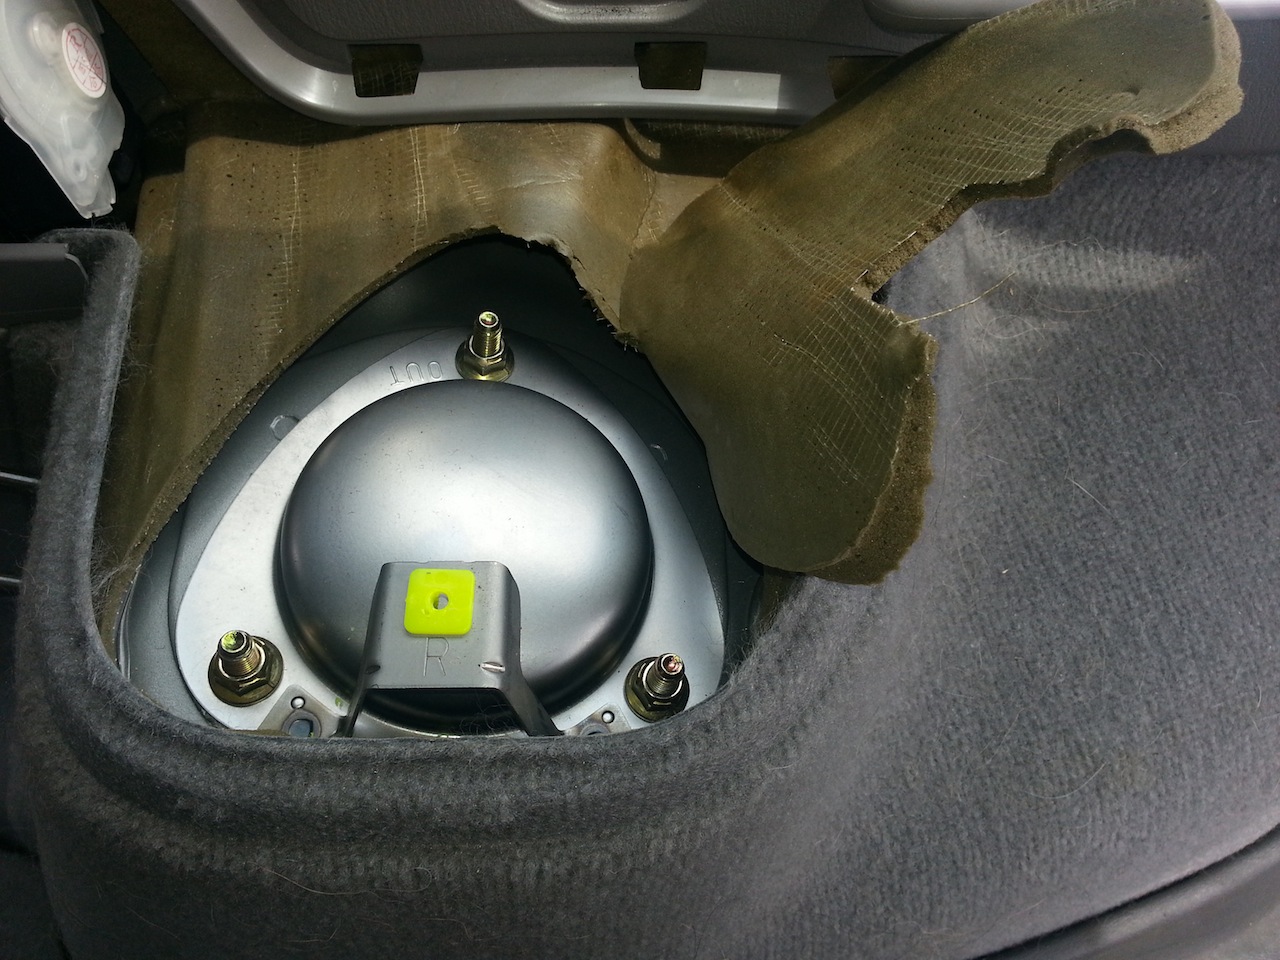
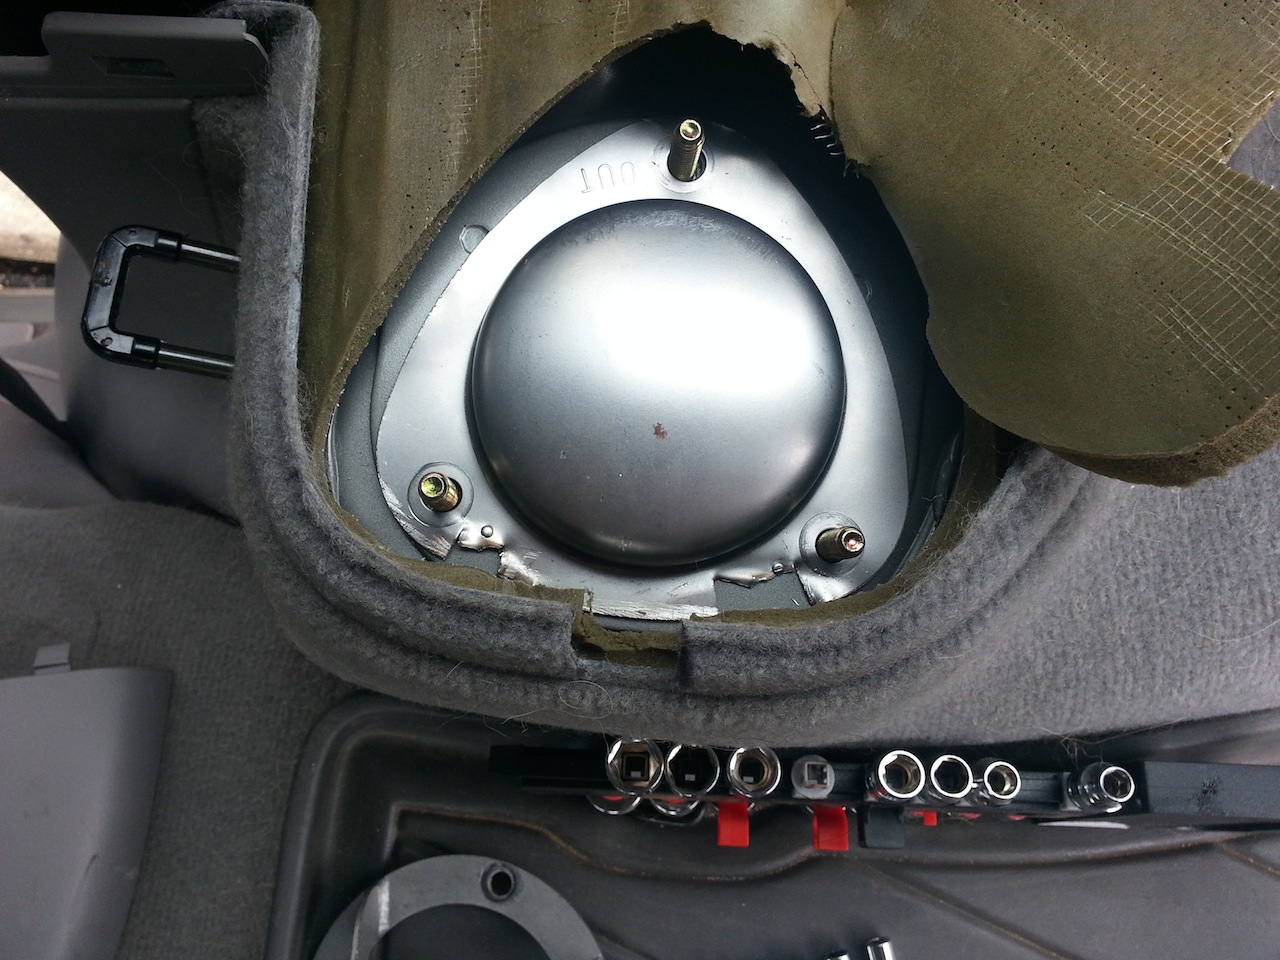
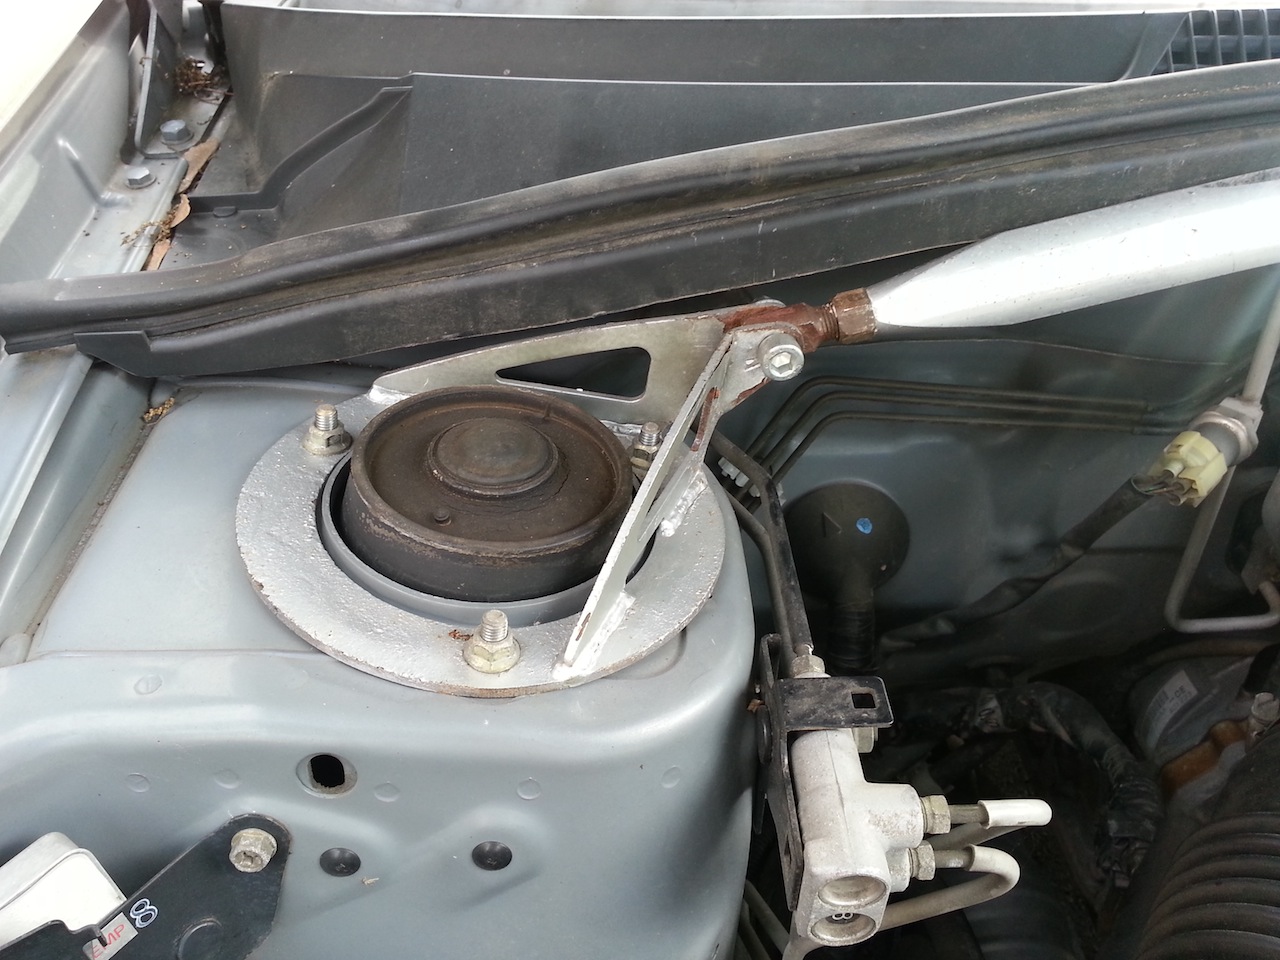
Inside the little plastic hooks on the top there is a screw that needs to come out before you can get the cap off. Once the plastic caps off come off, I noticed that the metal domes aren’t like they are on other Foresters:
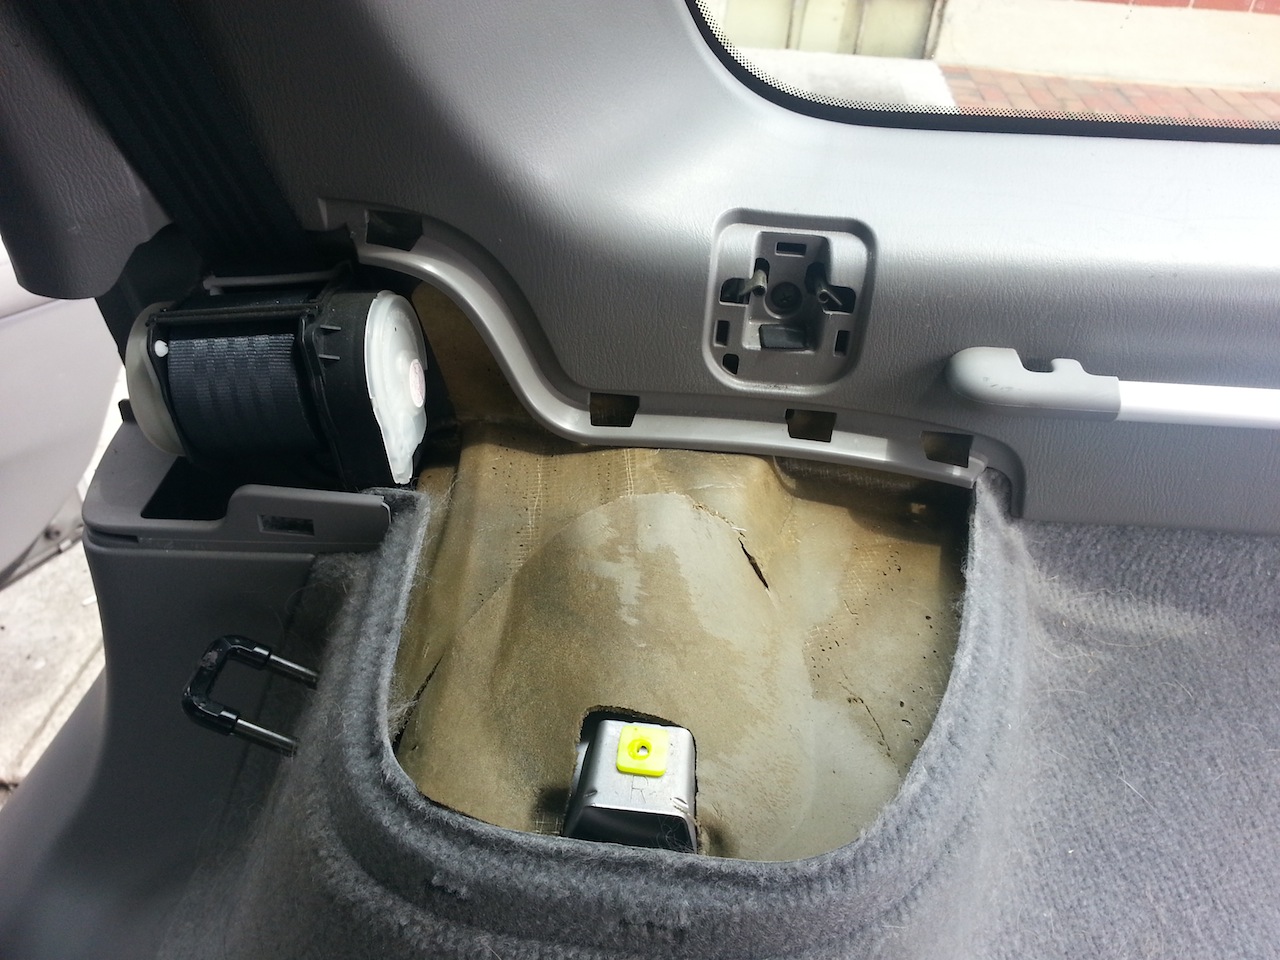
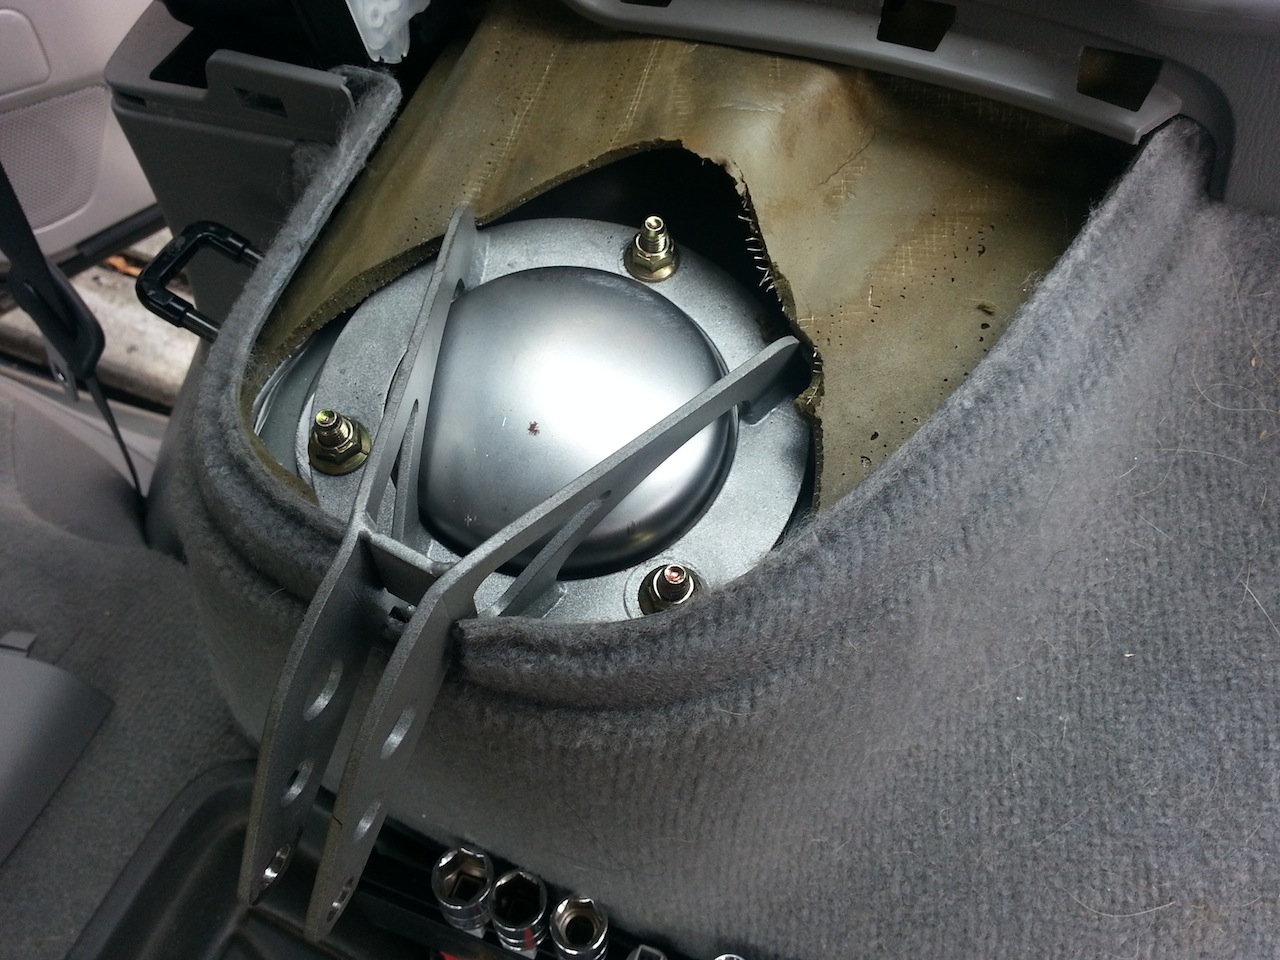
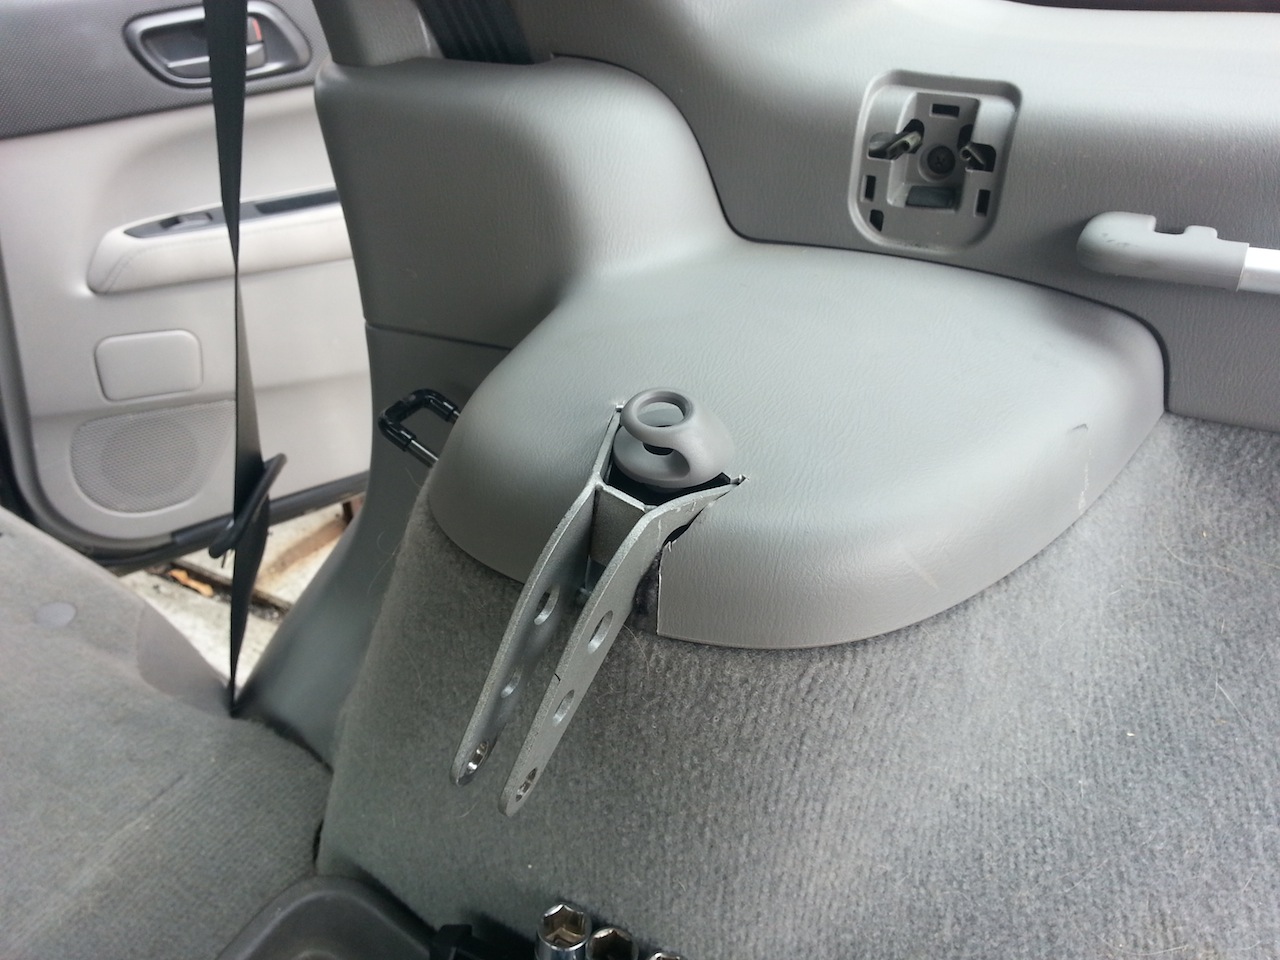
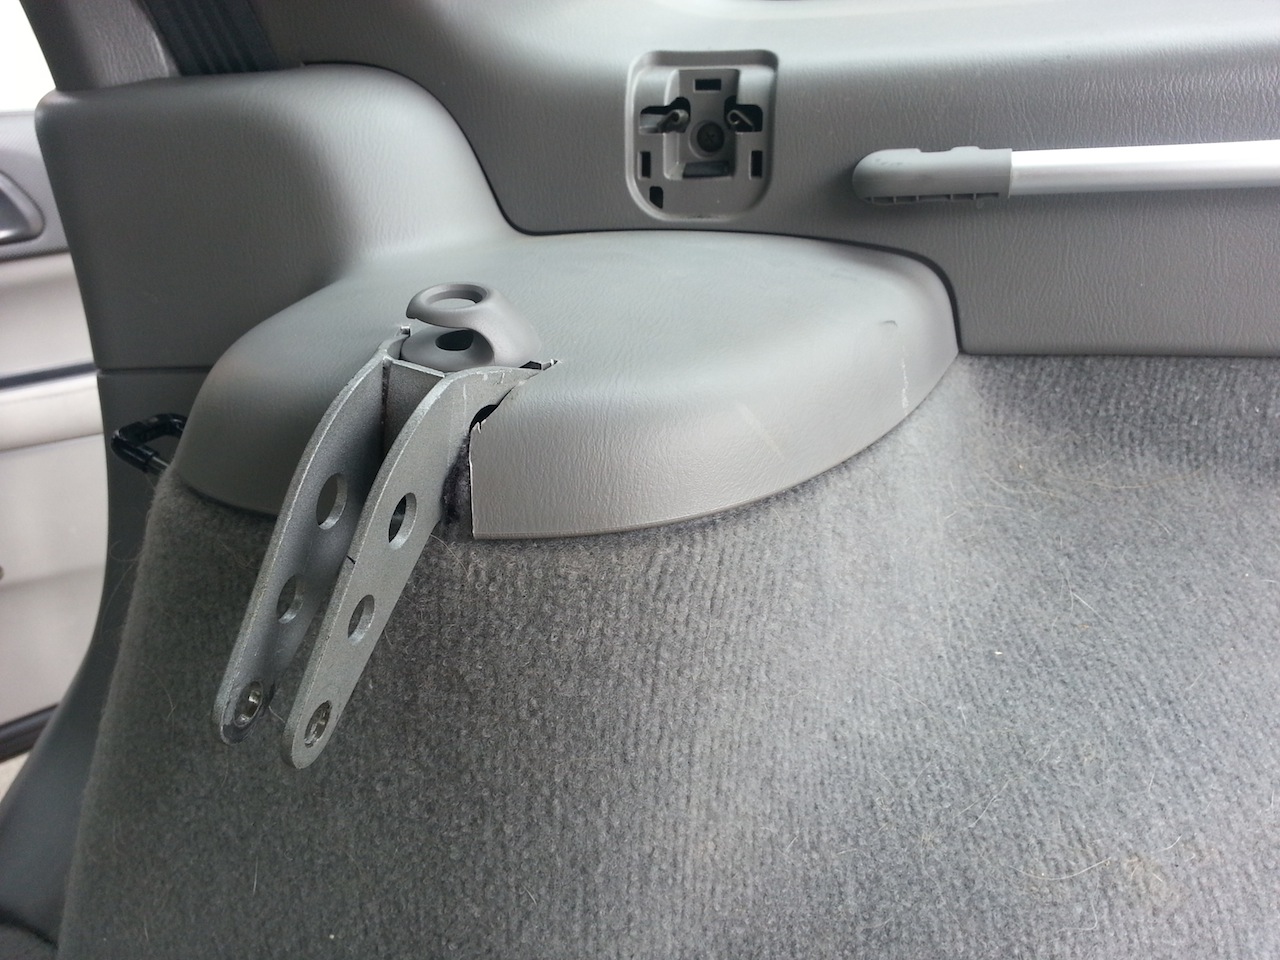
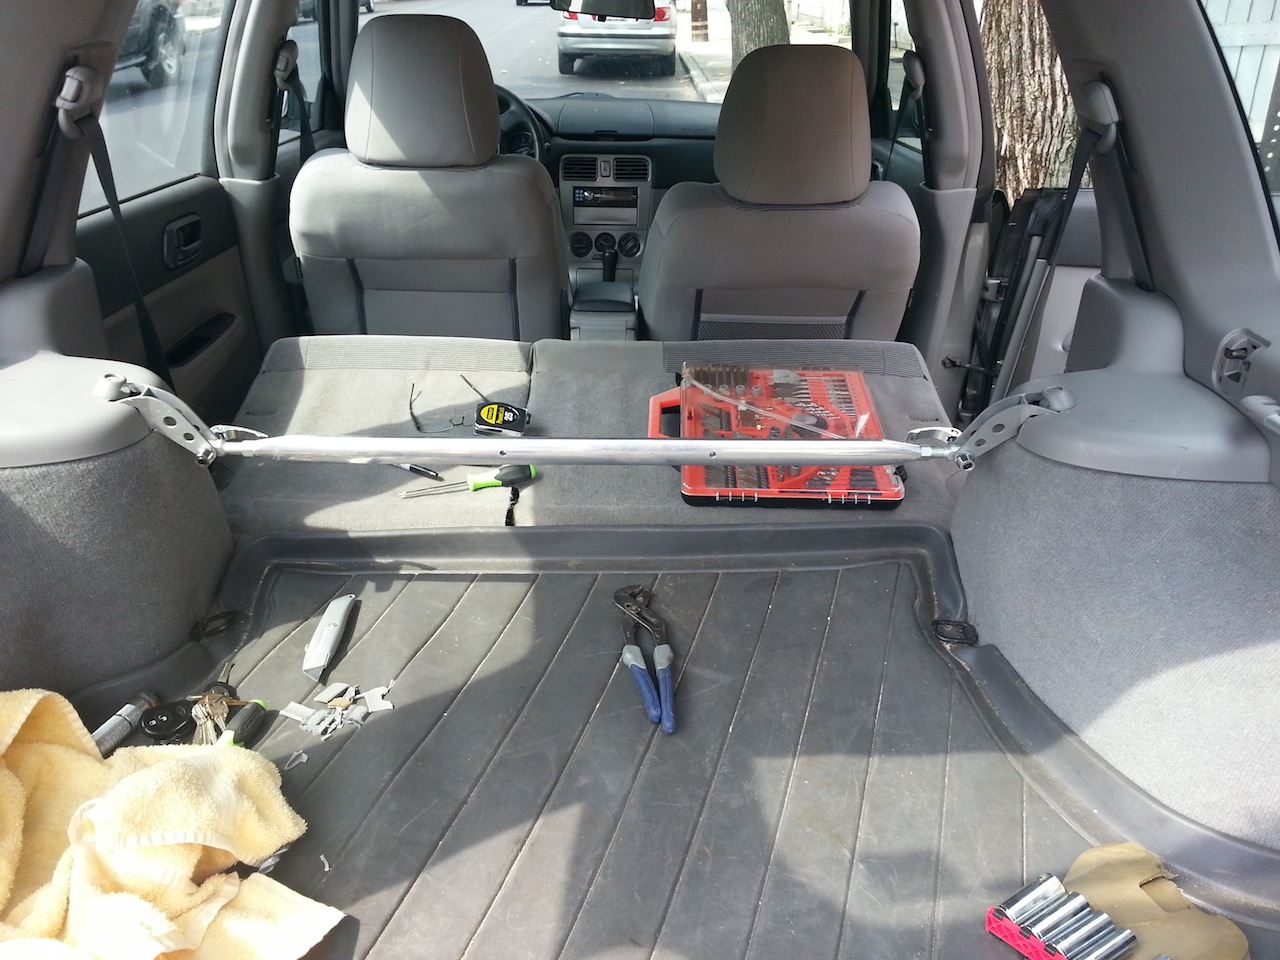
Once I took the weird square part off (literal hack-job with a hacksaw), do the cut out of the carpet with an exacto knife and mount the base:

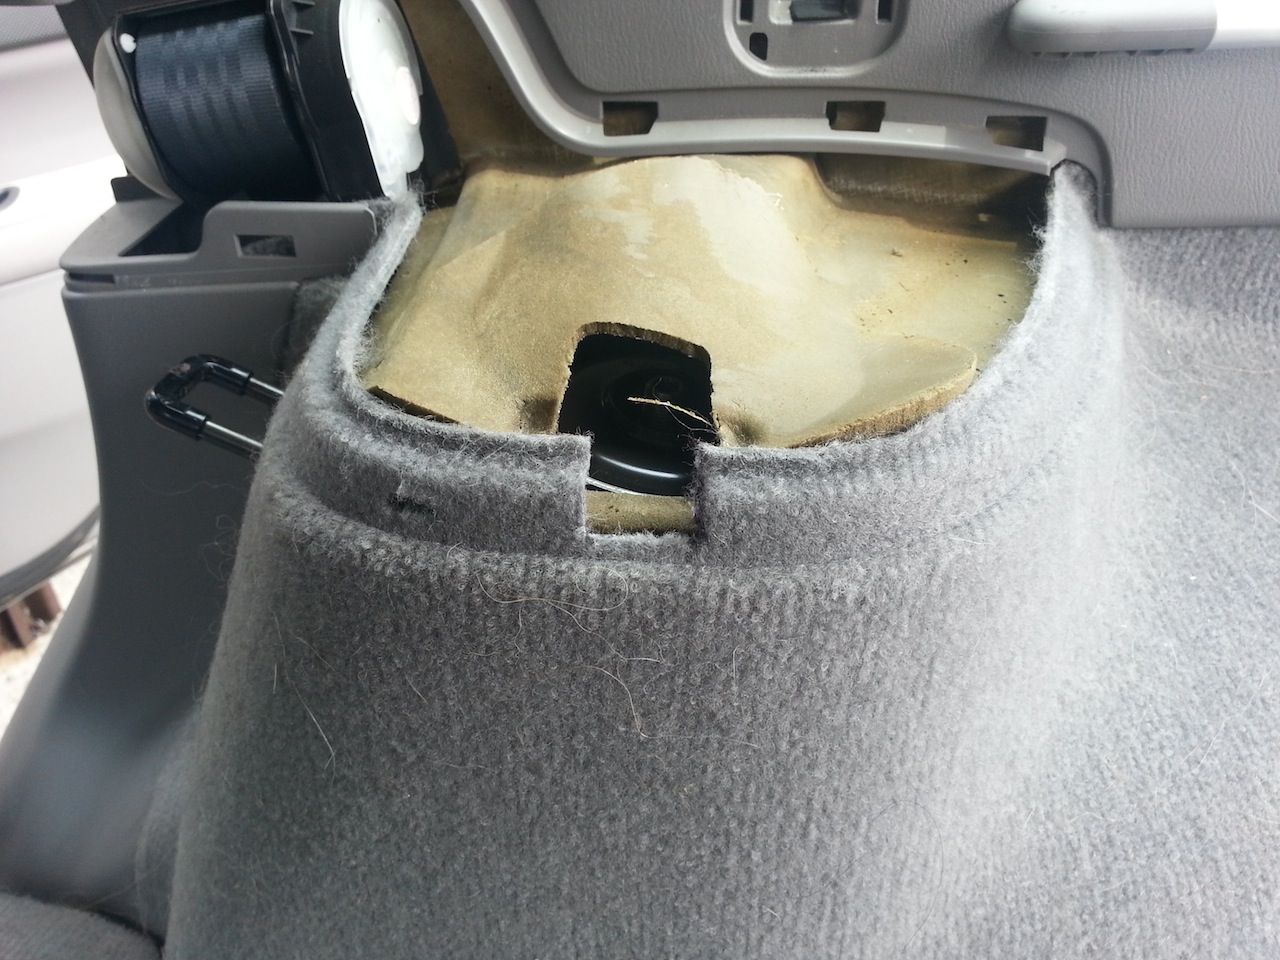
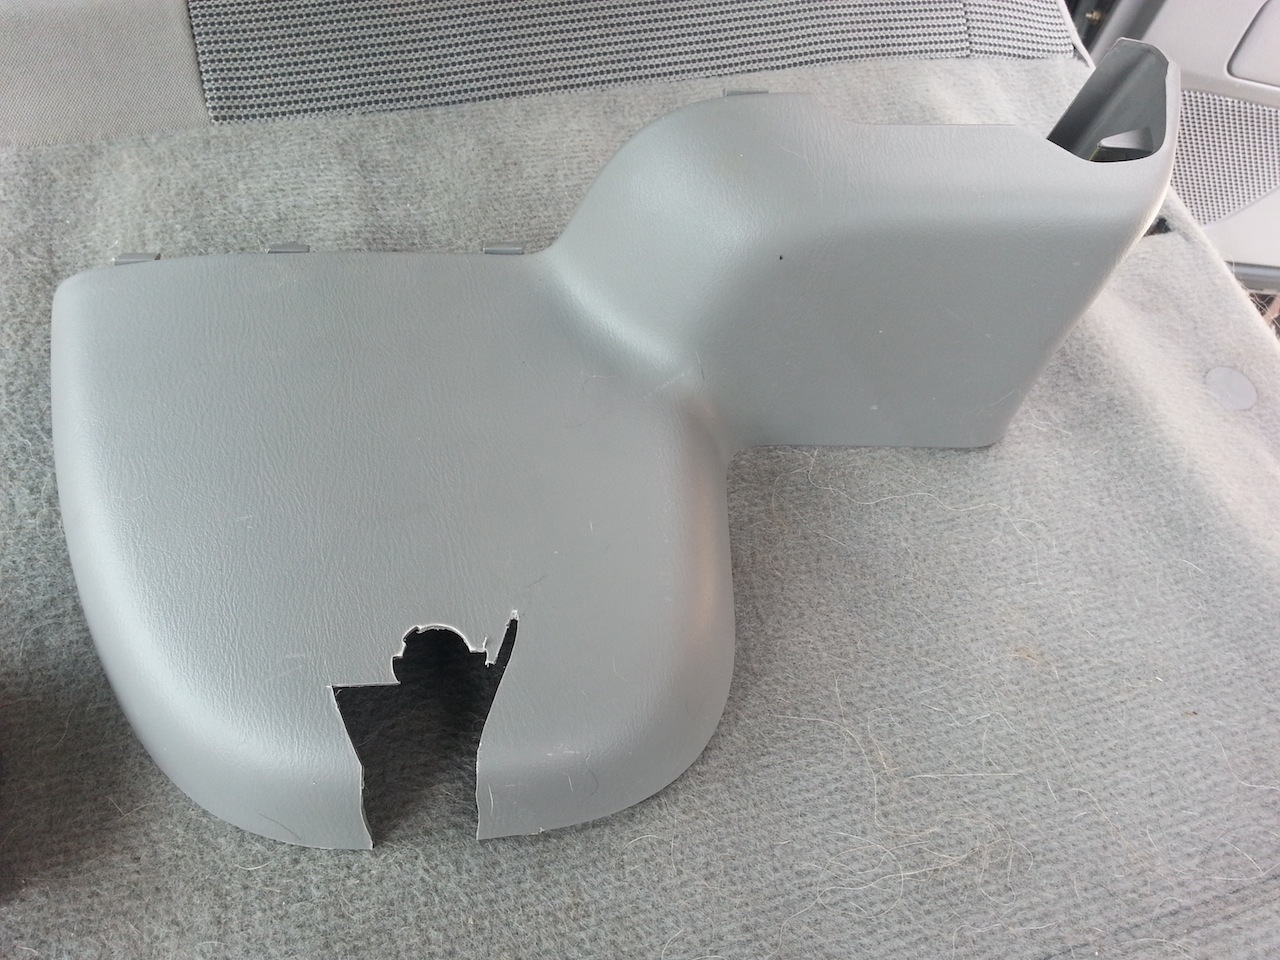
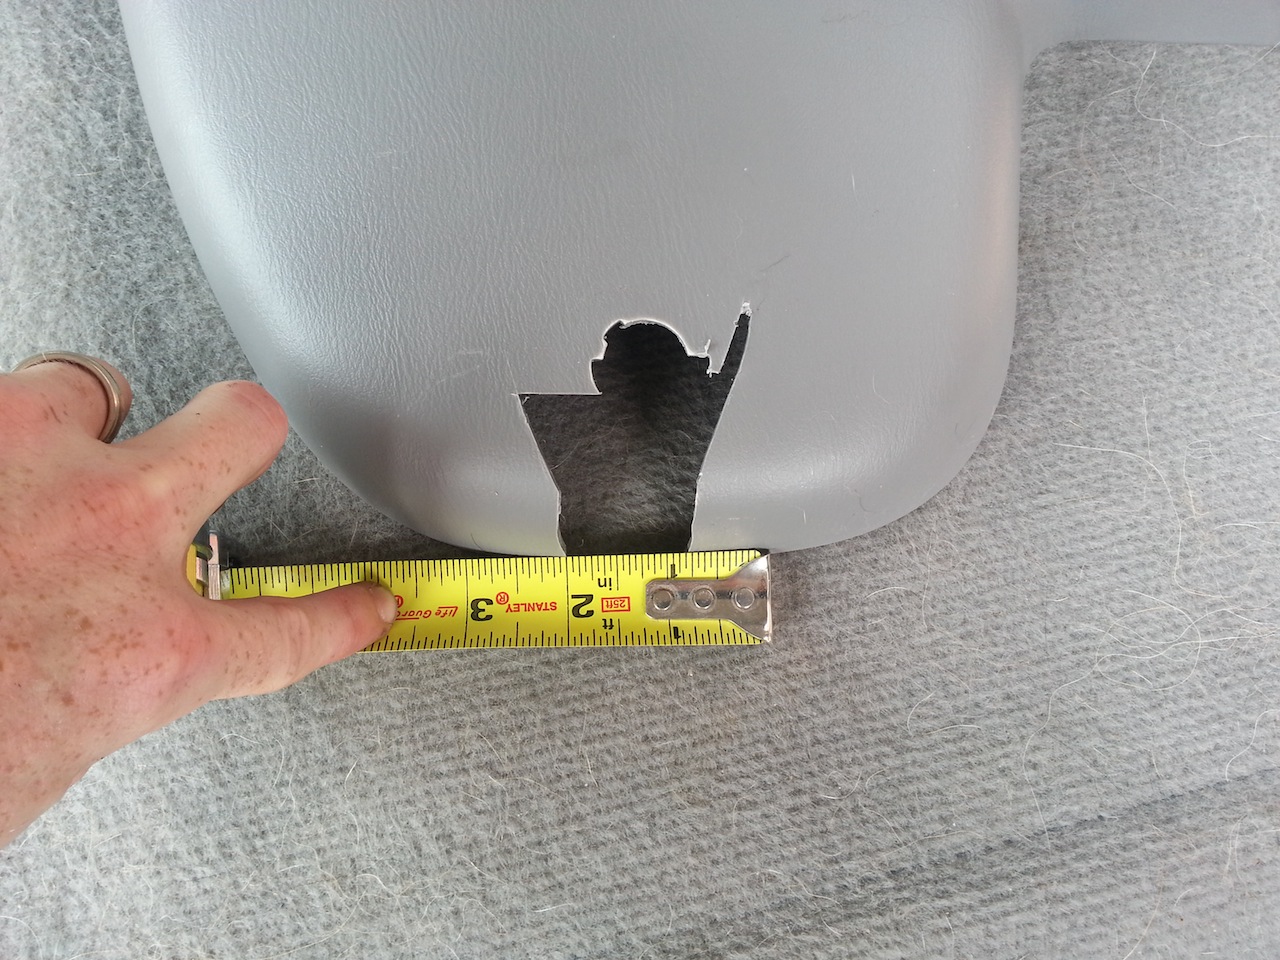
Cut out the plastic cap (clearly I struggled at this step, but the little hooks made it kinda weird because they left a gaping hole. Go ahead and replace the plastic cap and repeat on the other side:
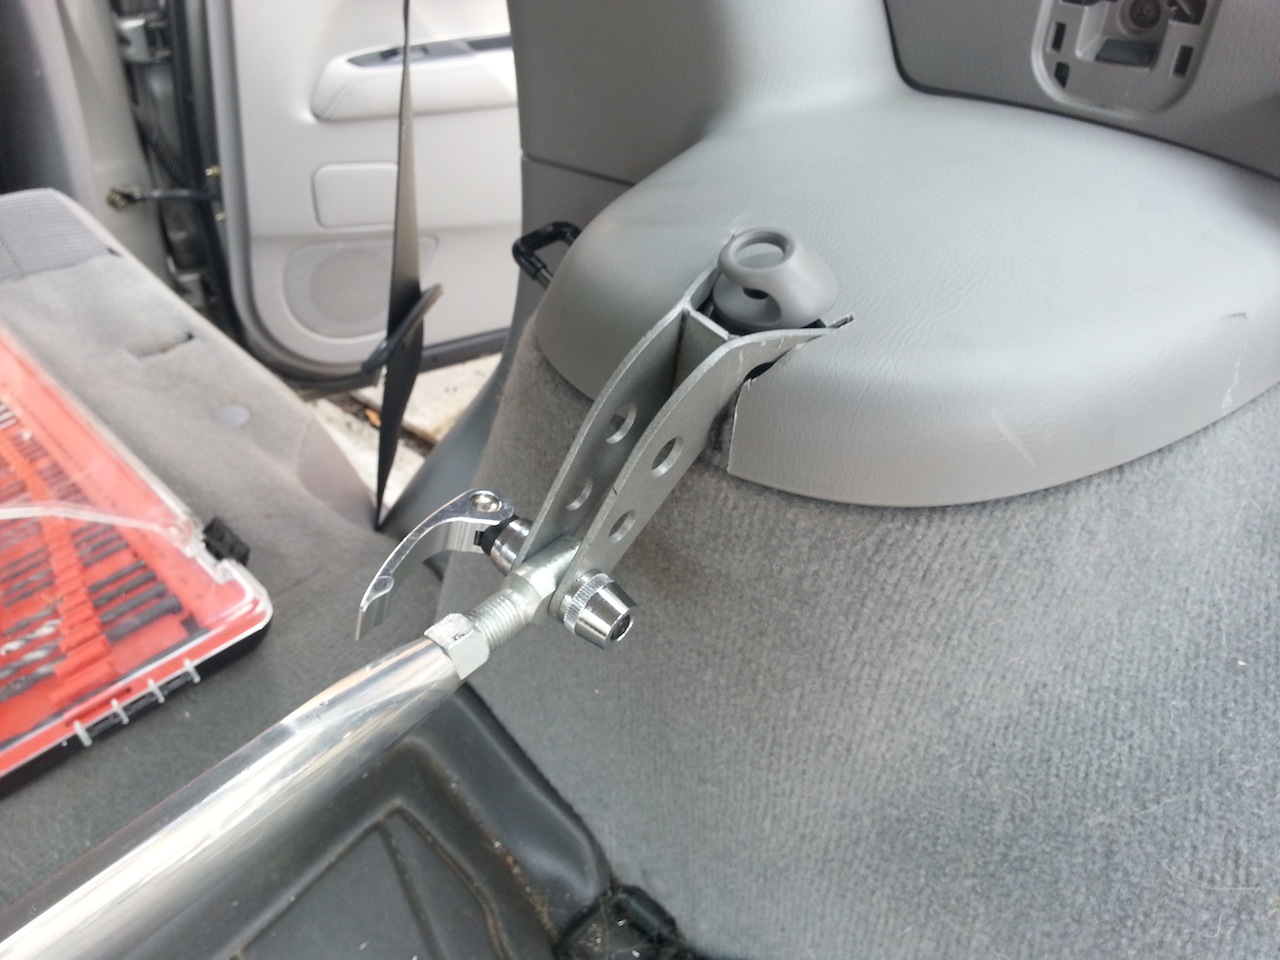
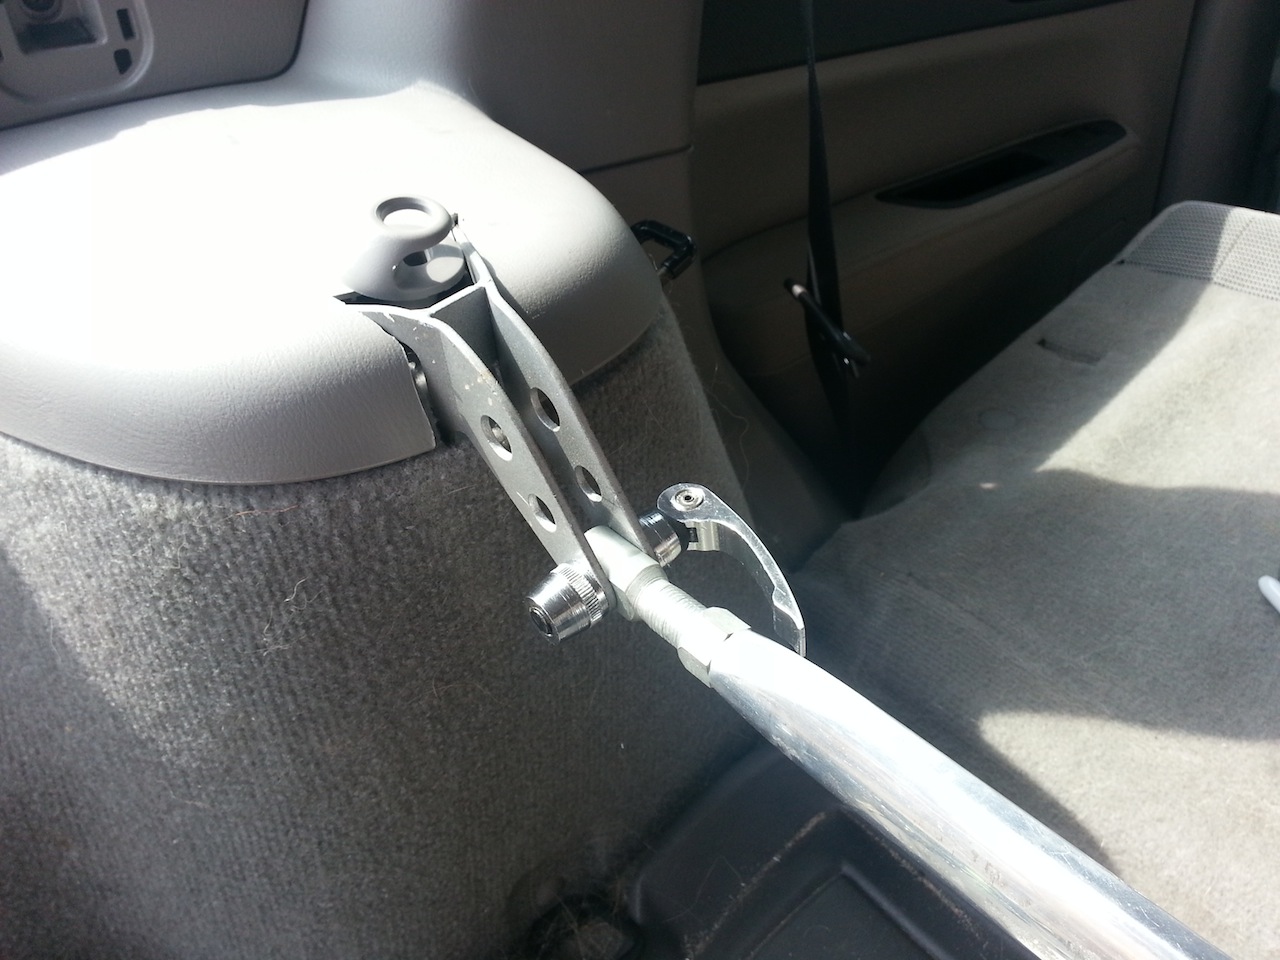
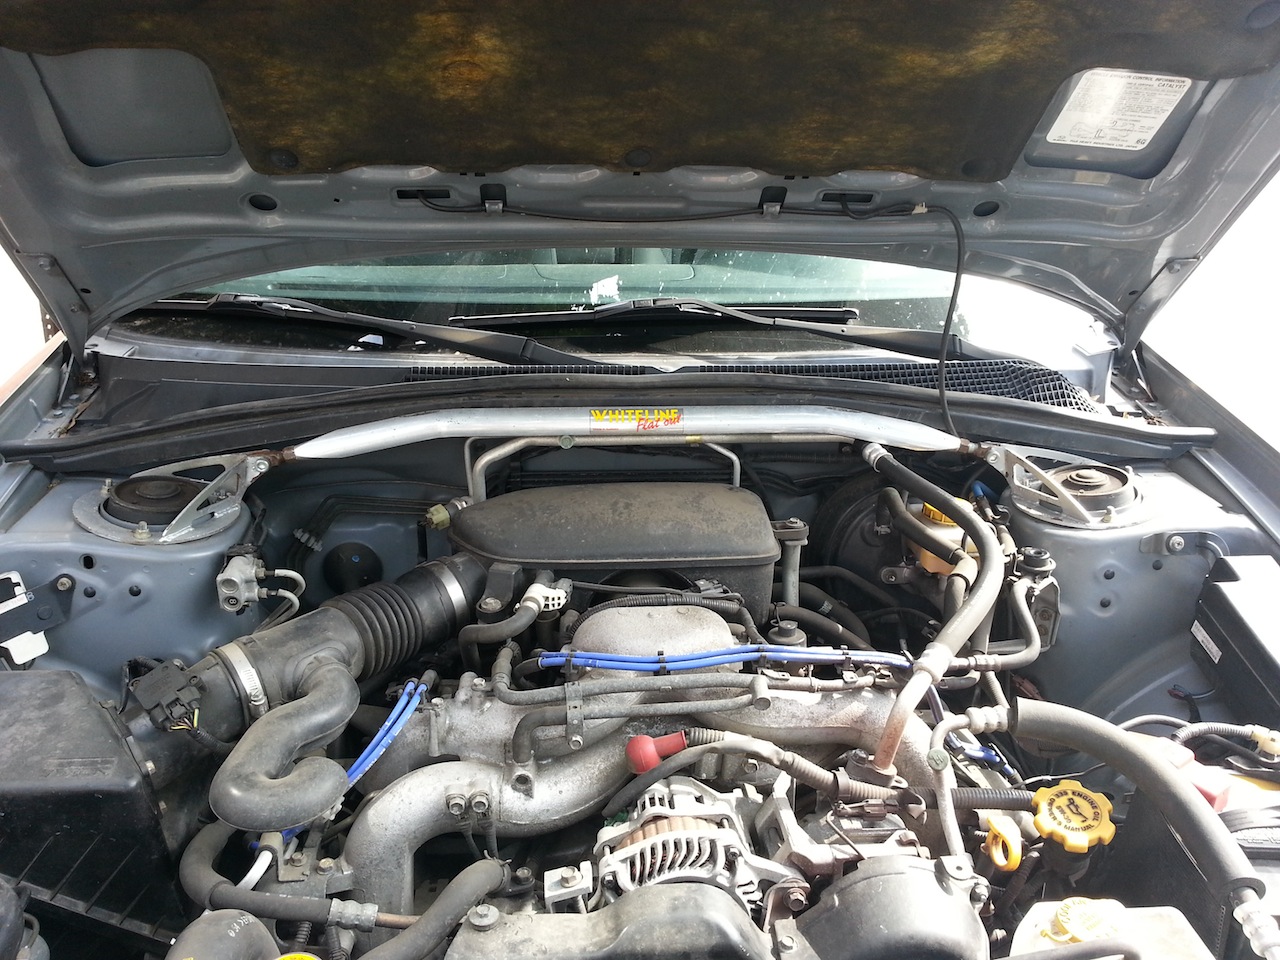
In order to get the Whiteline Quick Release to fit in the bar, I had to both sand down QR to strip some of the paint and drill out the strut bar hole, but in the end I got it to work:
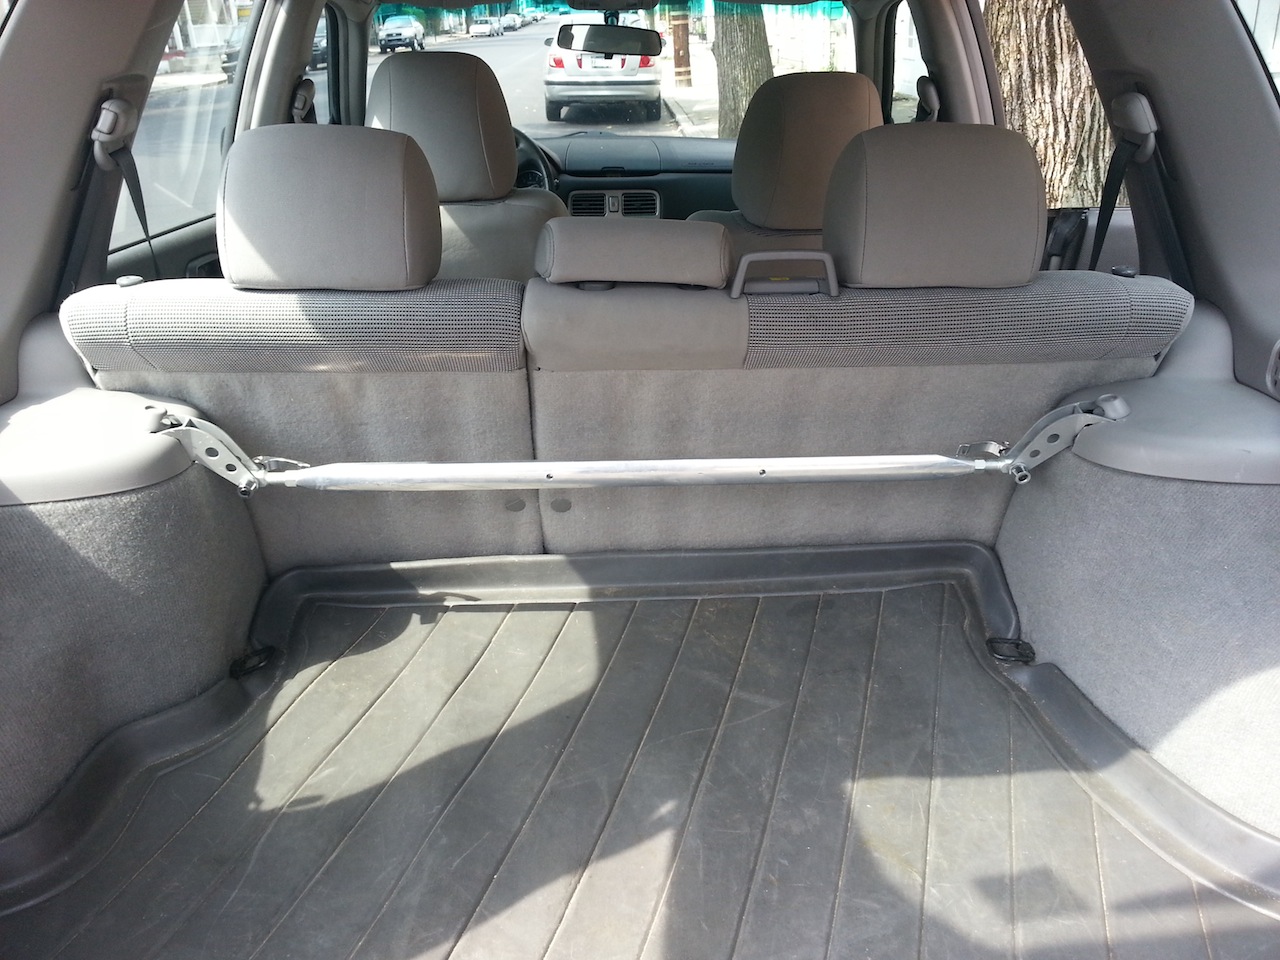

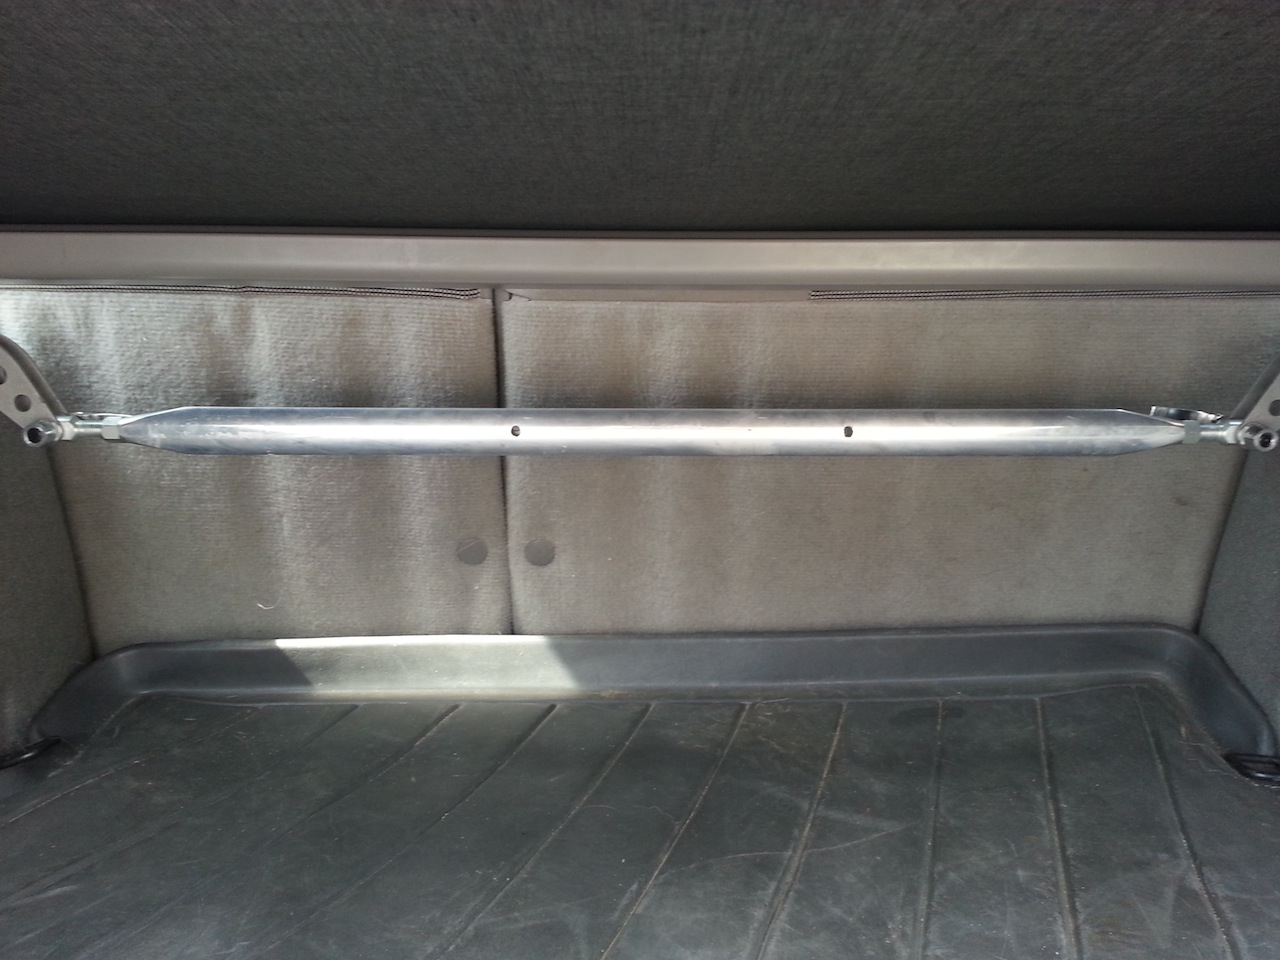
I really like the look of the bar, especially since I have the Quick Release and can remove it whenever I want. Even better that the bar is concealed by the cargo cover.
Overall, I’m really happy with the look and feel. This, coupled with the front strut brace, has really made tightened things up even further. I’ll expand on that a little more in the next post when I go over the front brace.
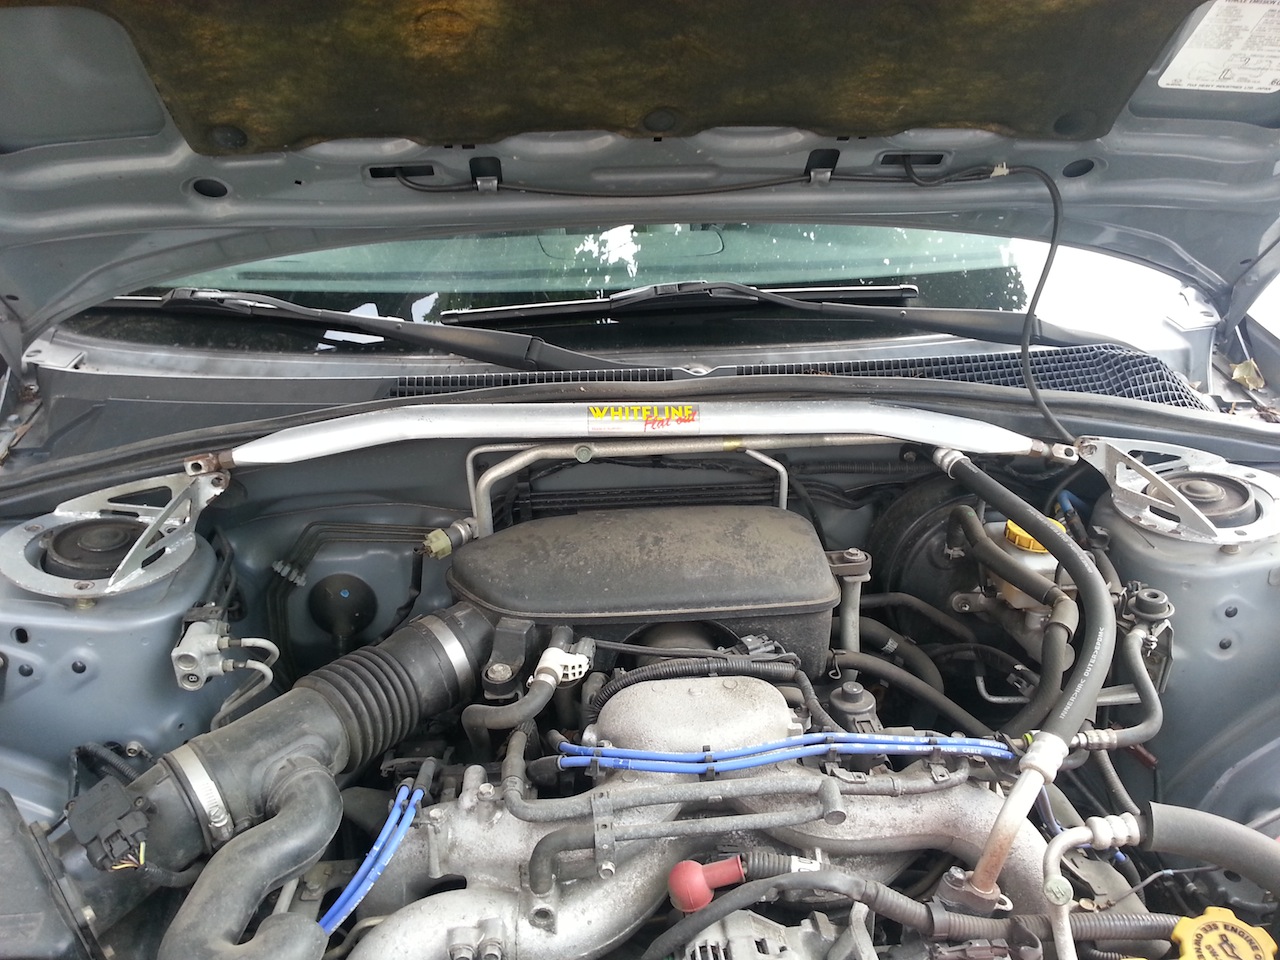
Here’s a mock up of what it would look like once installed. I wanted to get an idea of the look and make sure that things would all fit:
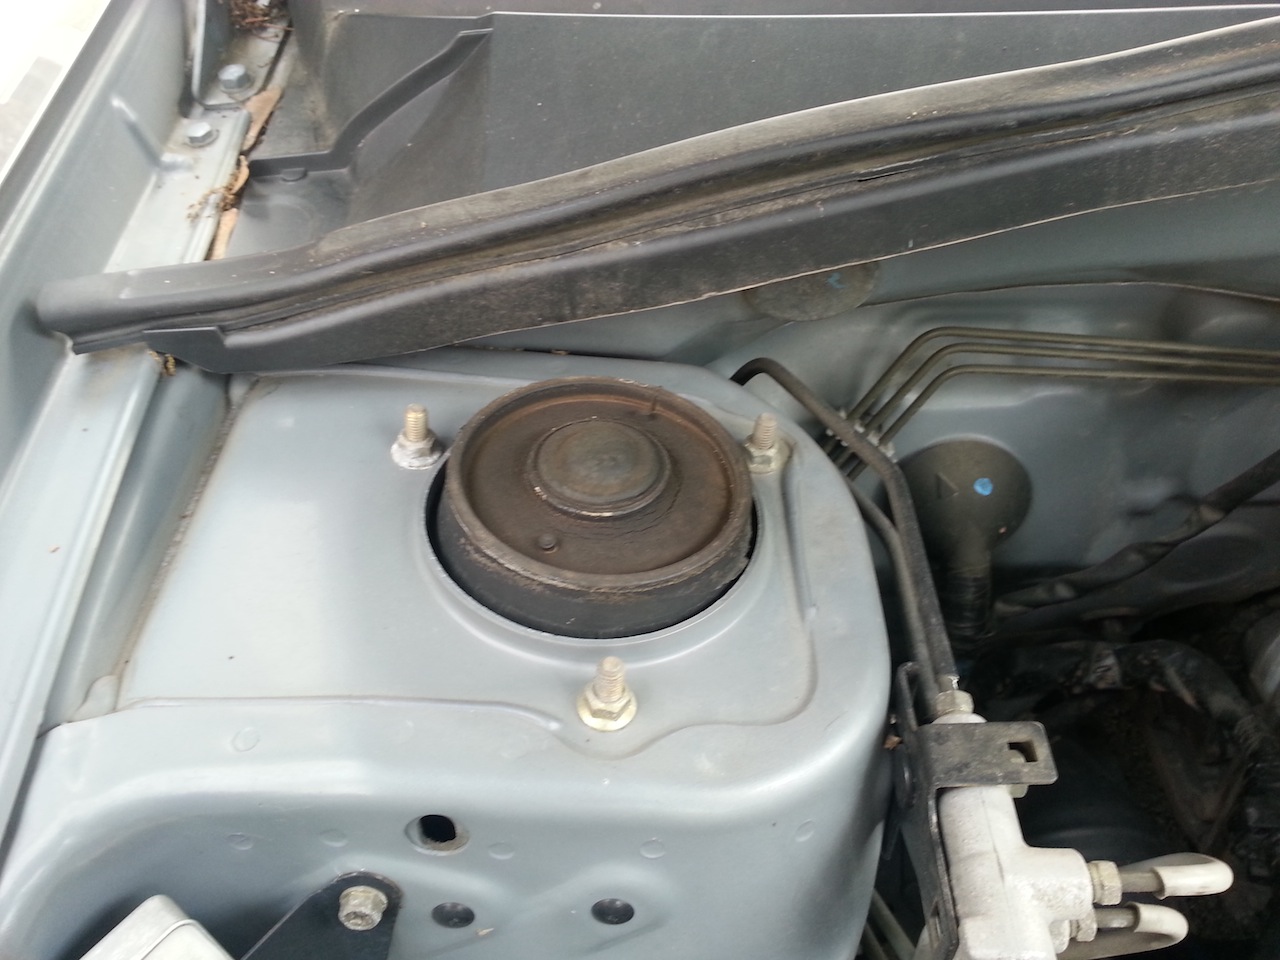
I took off the three nuts and then attached the bases to each side; this is where I ran into a complication:
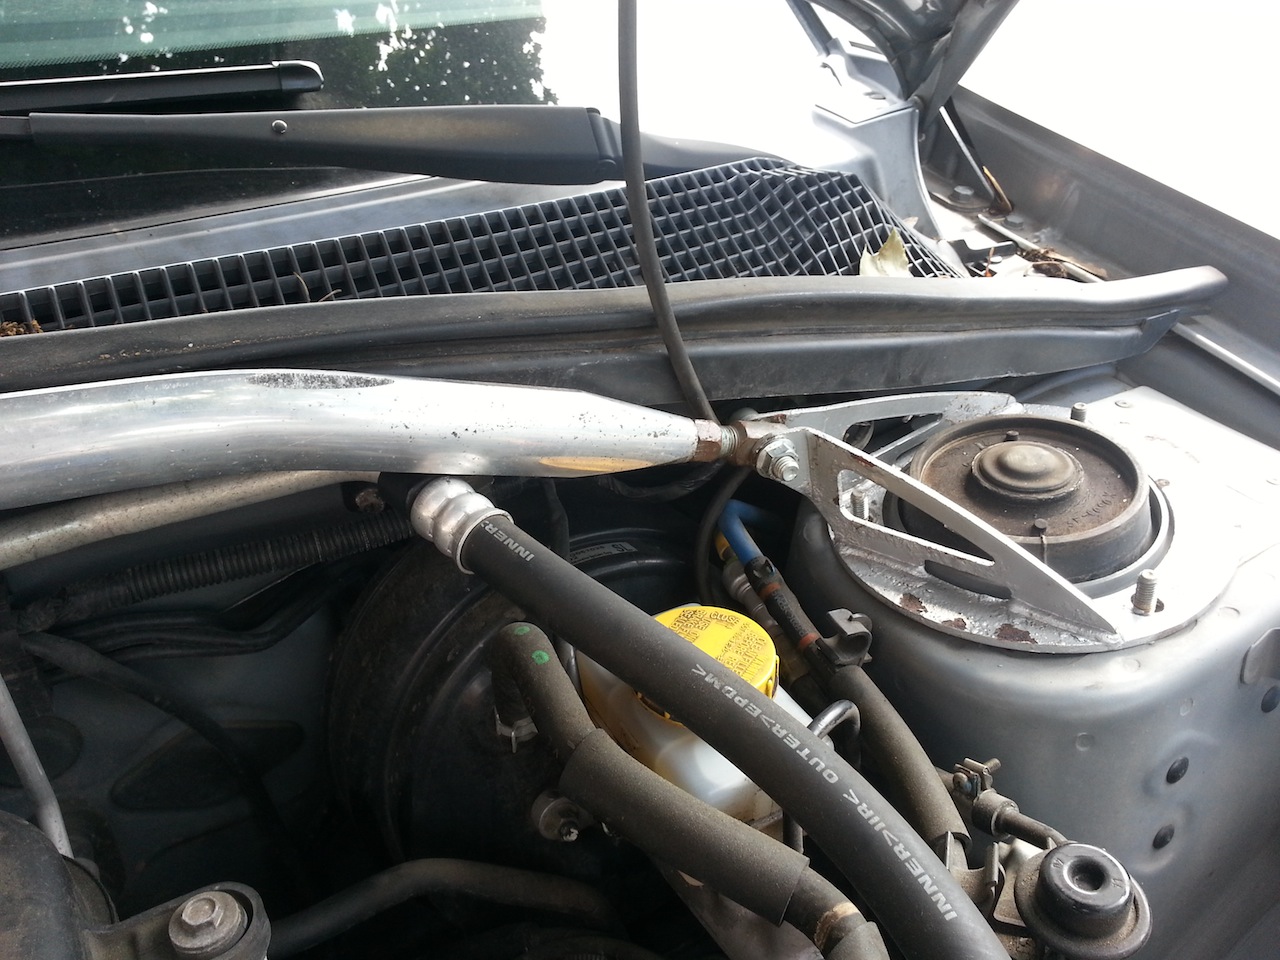
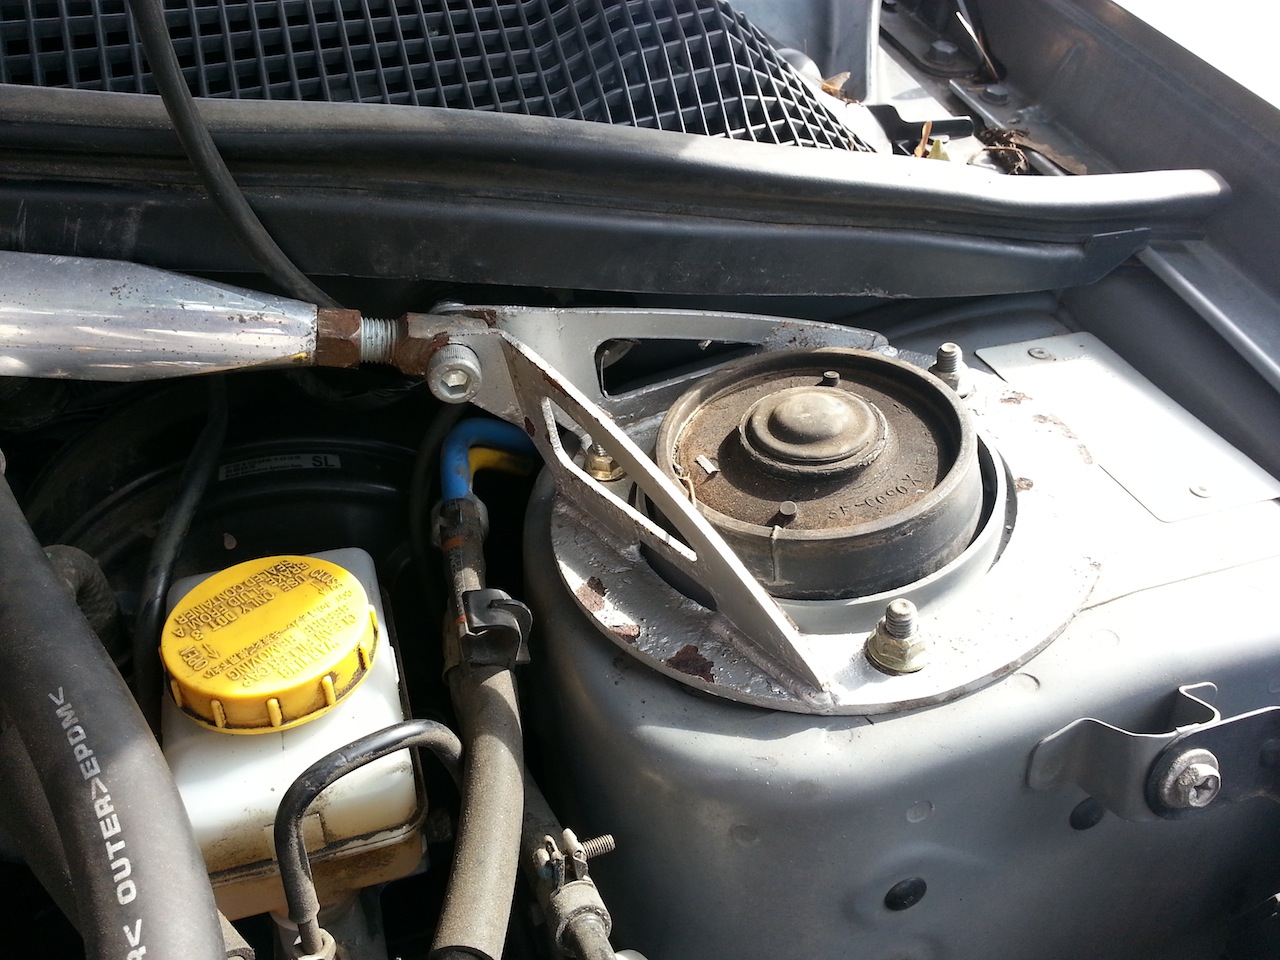
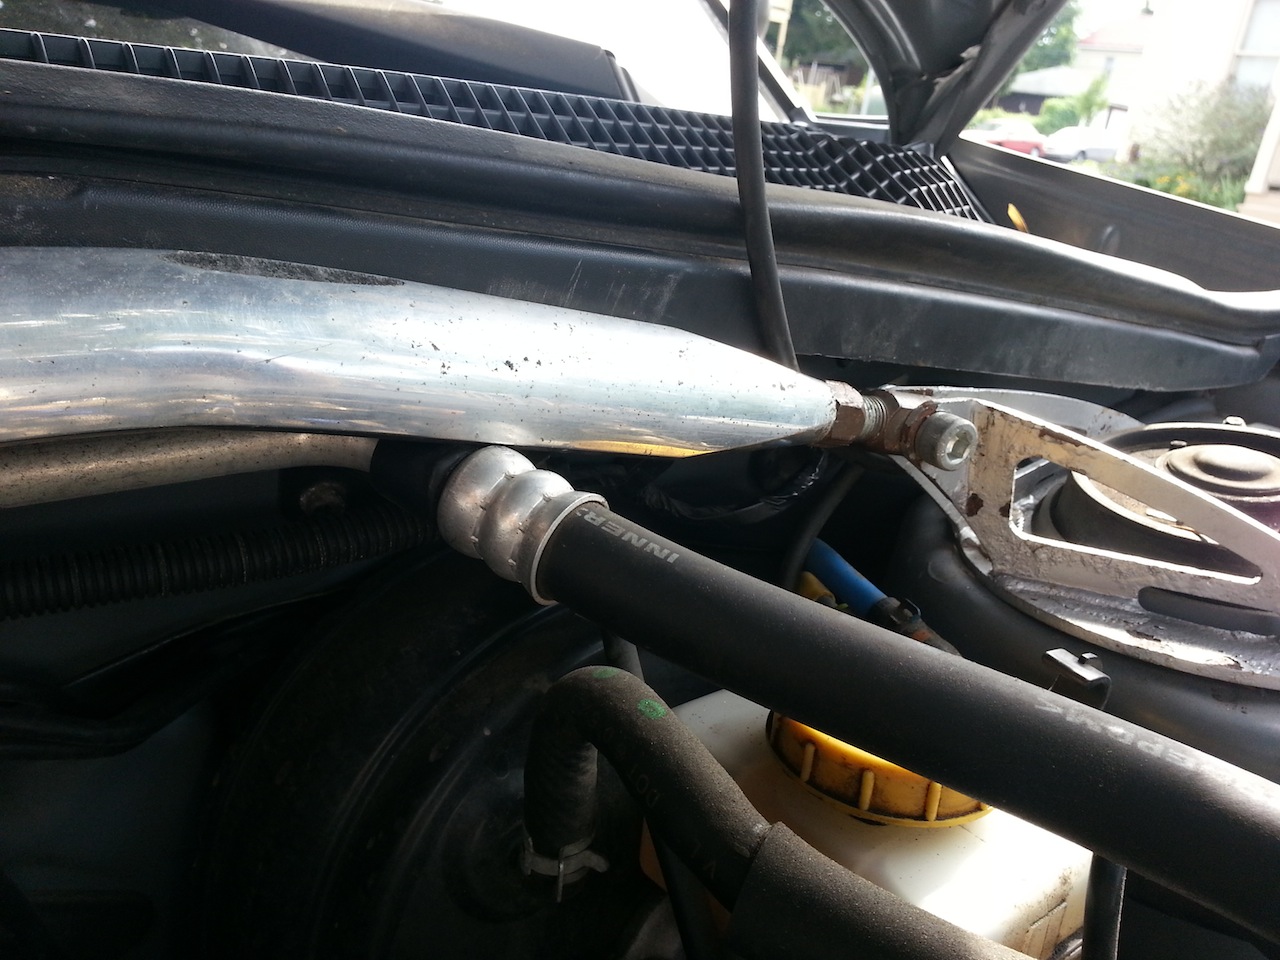
The AC line on at least ’06 2.5X causes a problem. The strut bar smacks directly into it when you try to push it down into the base:
In the end I got it to fit. It was definitely tight and you’ll see in the photos that it is actually pressing down on the AC line a little bit. I don’t think this is going to be a problem, I started the car and ran the AC for a period of time and everything seems to be working ok:
Overall: This installation took me about 2 hours for both the front and the rear. The rear took a considerable amount of time because of the plastic cap cutouts. The longest part of the front installation was getting over my fear of bending the AC line. Like I said, in the end I just sucked it up and pushed down.
Performance: I haven’t really given it a thorough test (the area around my house is literally straight streets and perpendicular intersections). The turns themselves feel even tighter than when I was running with upgraded rear sway bar by itself, so I definitely notice a difference. At the end of the turn, the strut braces seem to want to make the steering return to straight, almost to the point that if I release the wheel and let it rotate freely it kind of whips back to straight. In a word, I like it. Feels nice, definitely worth it.