Got the Headunit and speakers from Crutchfield, always a good place as they usually including the wiring adapters and detailed instructions for installation.
One of the curious things about our Subies is that most standard speakers are too deep to fit properly in the door when the windows are down. As a result, spacers are typically included (or charged extra), but are often made of shoddy plastic and are usually ‘universal’ type fits that are supposed to fit everything by end up fitting nothing well. Thankfully subaruaudio.net sells spacers that are not only vehicle and model year specific, but also made from a much higher quality material than the universal adapters that come with the speakers. Without the spacer, the metal bracket on the bottom of the window glass will sometimes get attracted to the magnet of the speaker and can bend things out of place. This obviously is a bad thing.
Onwards to the install (note: I had already installed the speakers, these images are just going back and capturing the process when I had the door apart earlier):
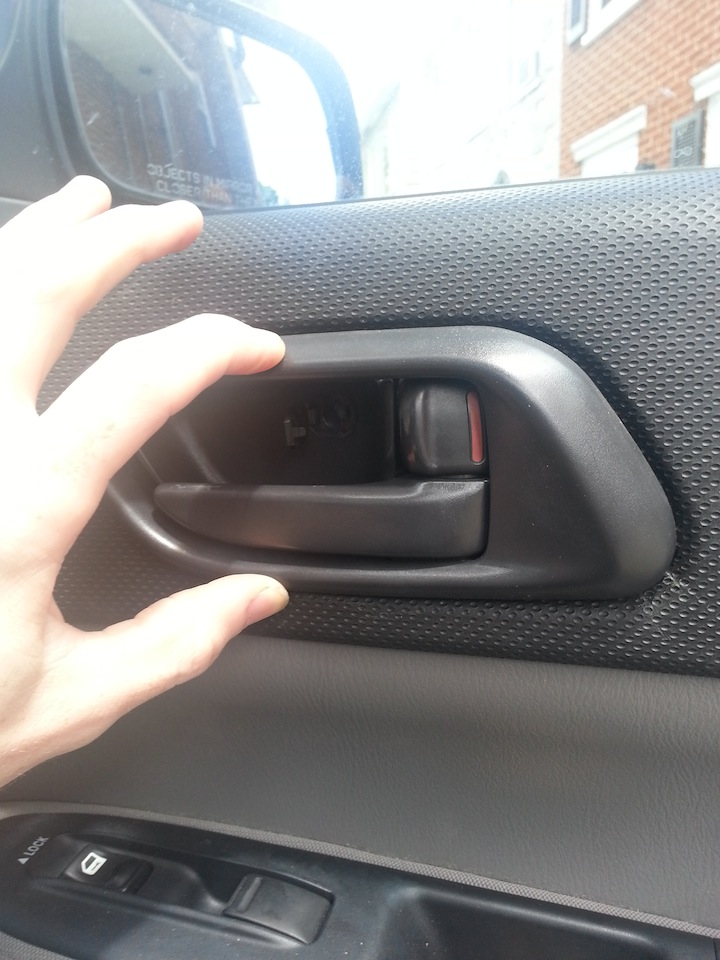
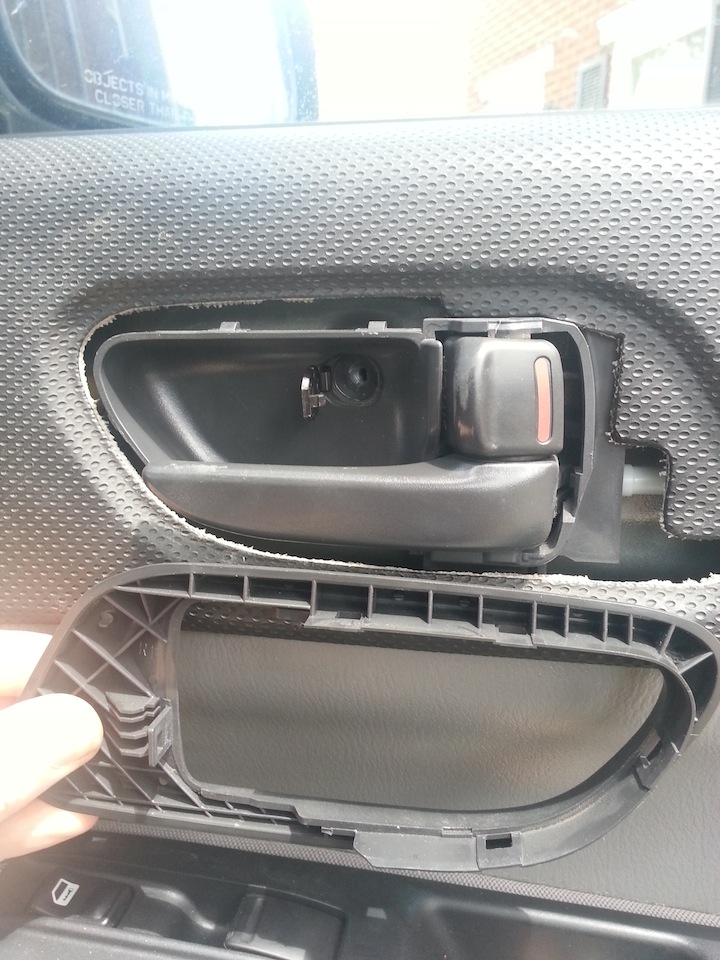
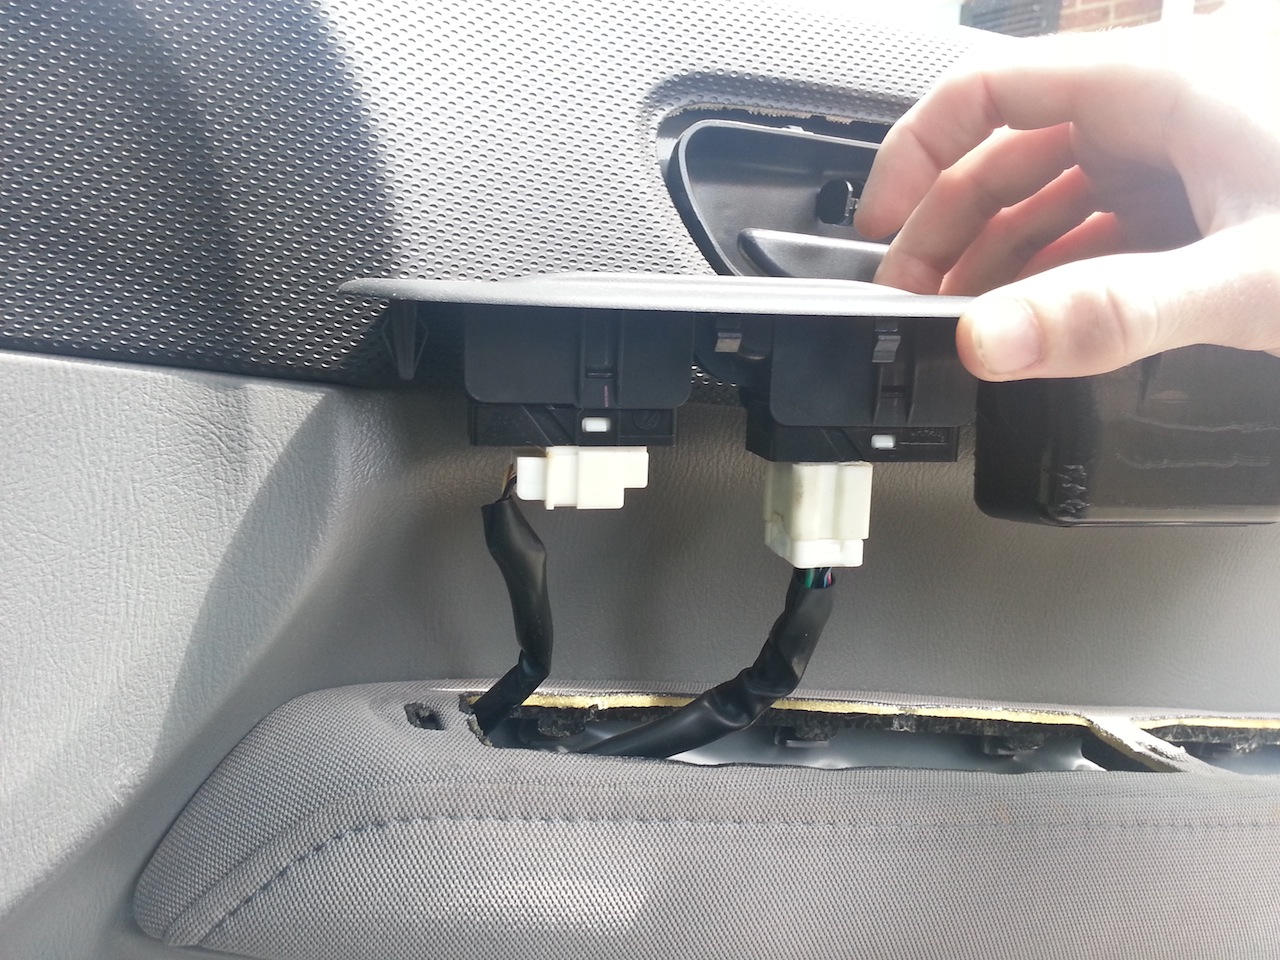
Pull off the black frame around the door handle, there are tabs that hook into the door. The best method is to use plastic panel remover tools (check Harbor Freight for a quality cheap set):
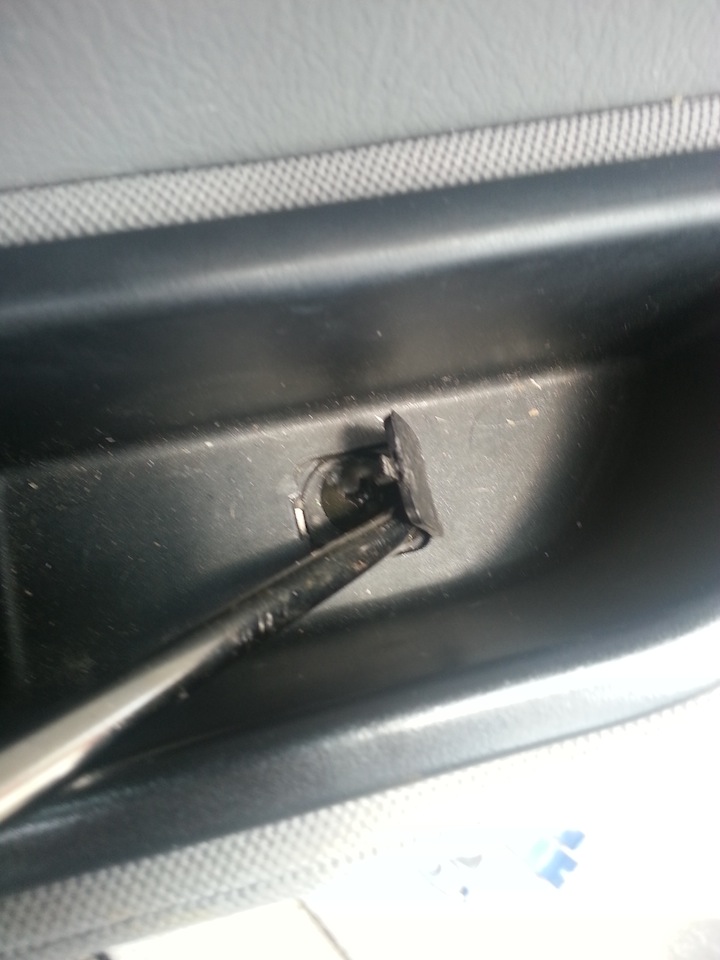
Uncover the screw in the bottom of the armrest and remove it (philips head screw):
Using a panelling tool, pry up the plastic part of the armrest (I’ve found it best to work from the back to the front, as the rear-most portion of the plastic has no tab holding it down)

Unhook the power window and lock cables:

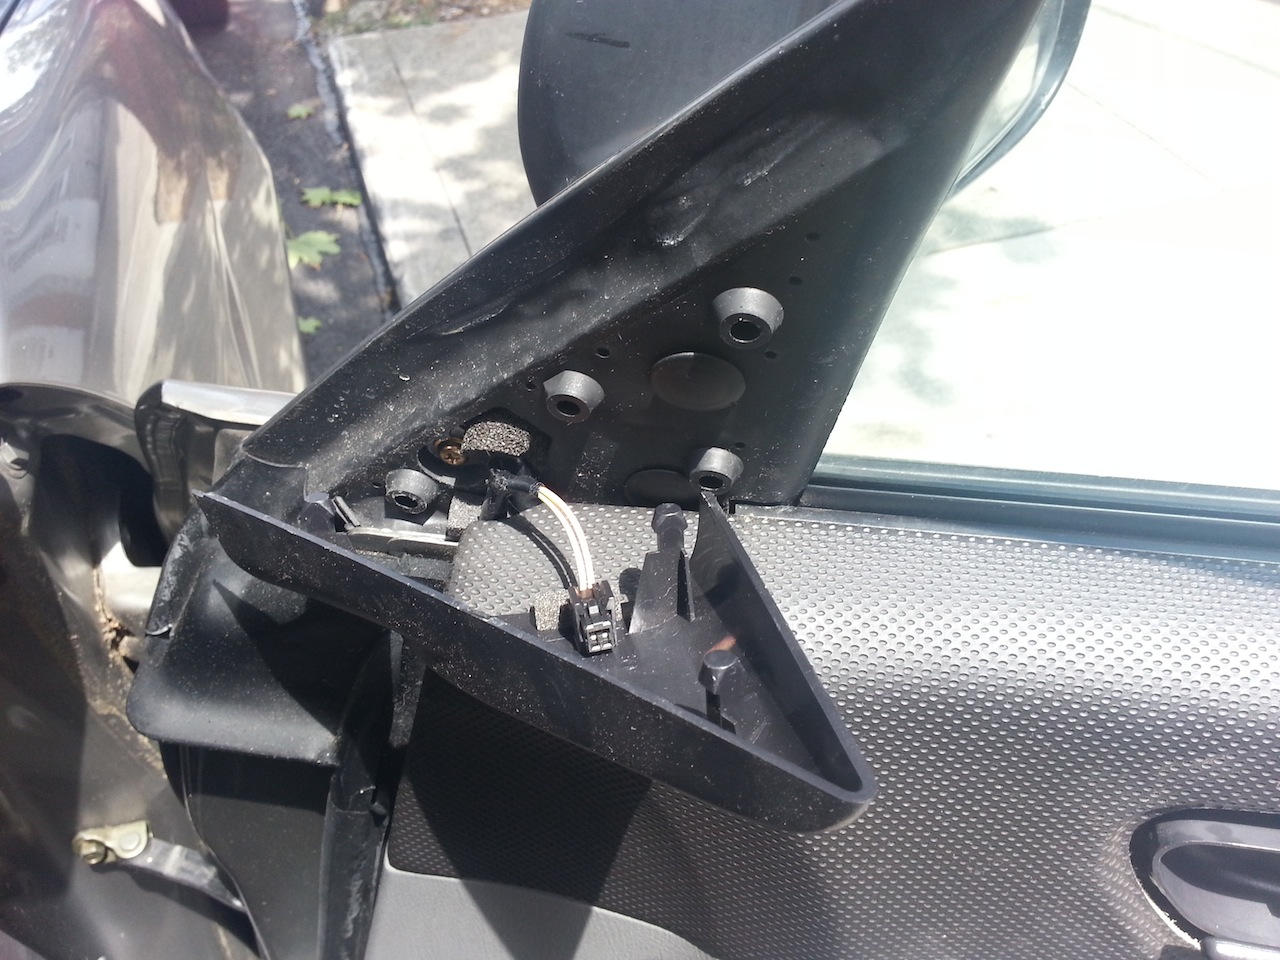
Using your fingers, pry off the sail (this assumes you have no component tweeters in the door sail) and remove the wire from the holder in the sail:
Using the panelling tool, I typically start with the lower outside corner of the door panel and pop out the tabs on the bottom. The I work up both sides simultaneously and once all the tabs have been popped out, slide the now-free door panel up and set aside.
Set the speaker in the spacer and mark where the holes on the speaker appear on the spacer so you can pre-drill. Use a small bit (see the subaruaudio site for specific), pre-drill holes to allow for the speaker installation into the spacer.
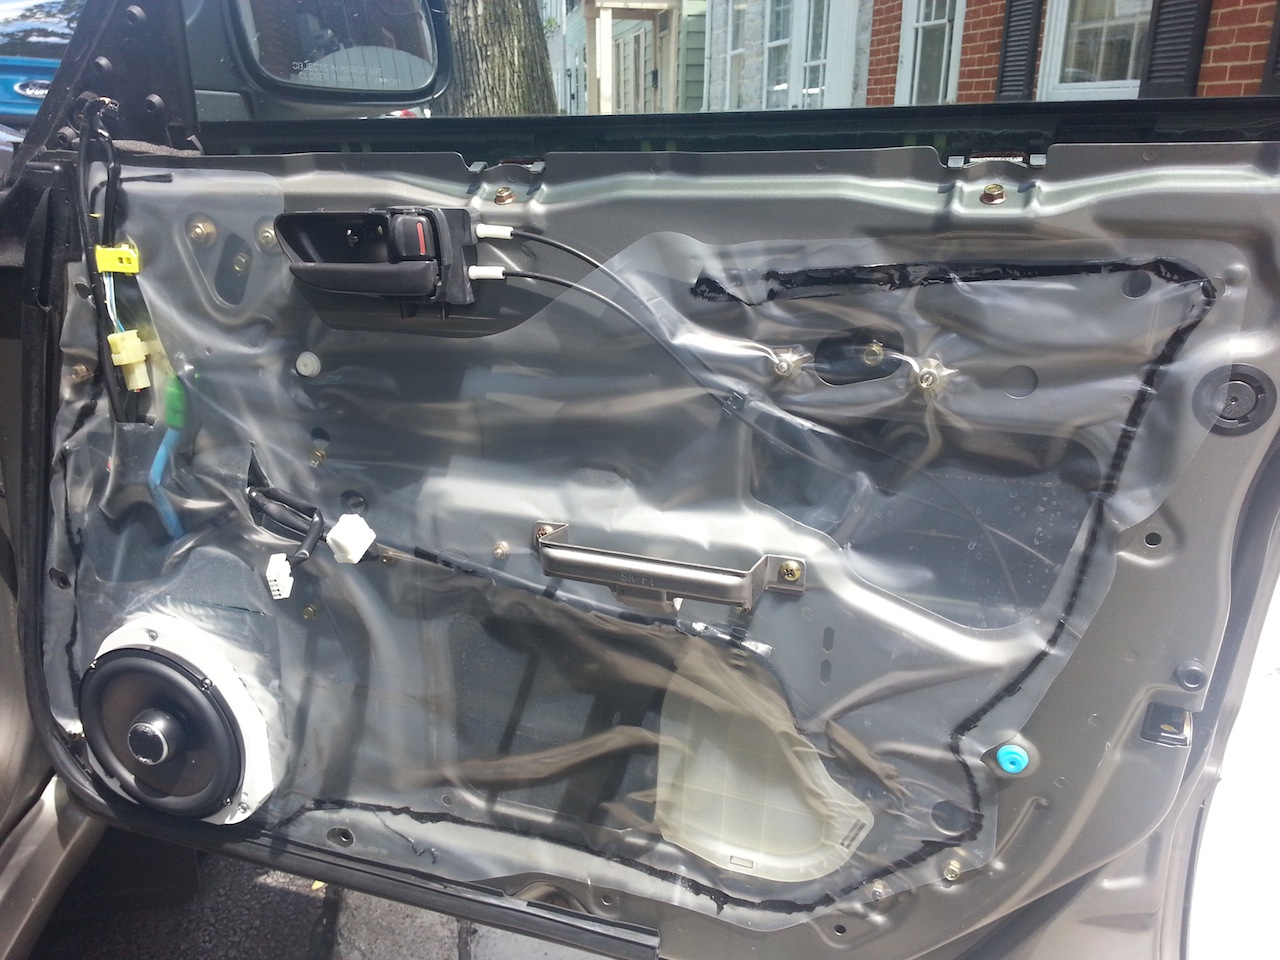
At this point, it might be a good time to use some rudimentary deadening before attaching the spacer to the door, just to enhance the sound some. To attach the spacer to the door, use the larger pre-drilled holes that were already in the spacer to line up with the holes in the door and attach the spacer to the door.
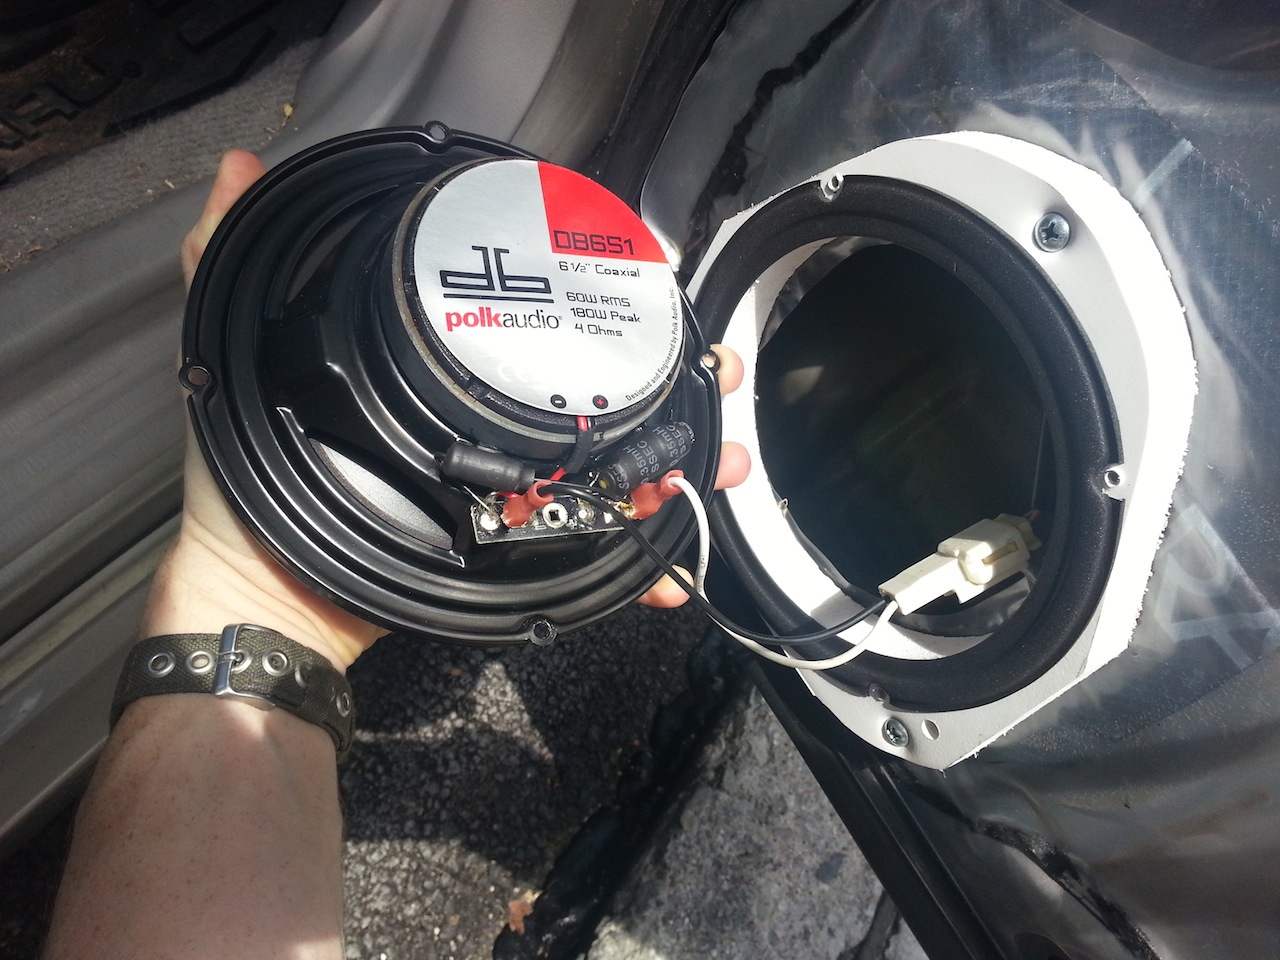
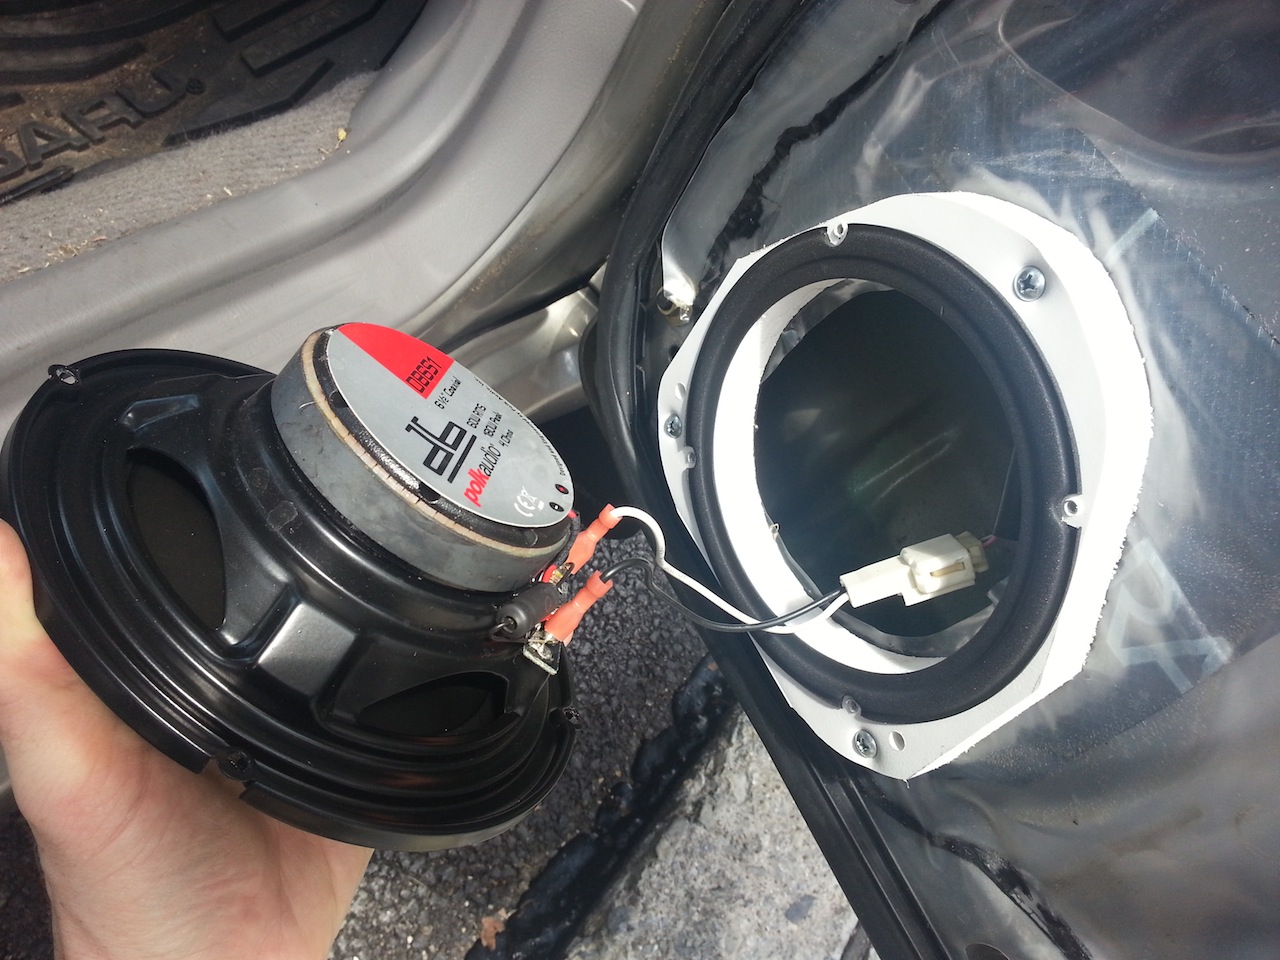
Connect the new speaker using the wiring adapter and then attach to the spacer which is attached to the door:
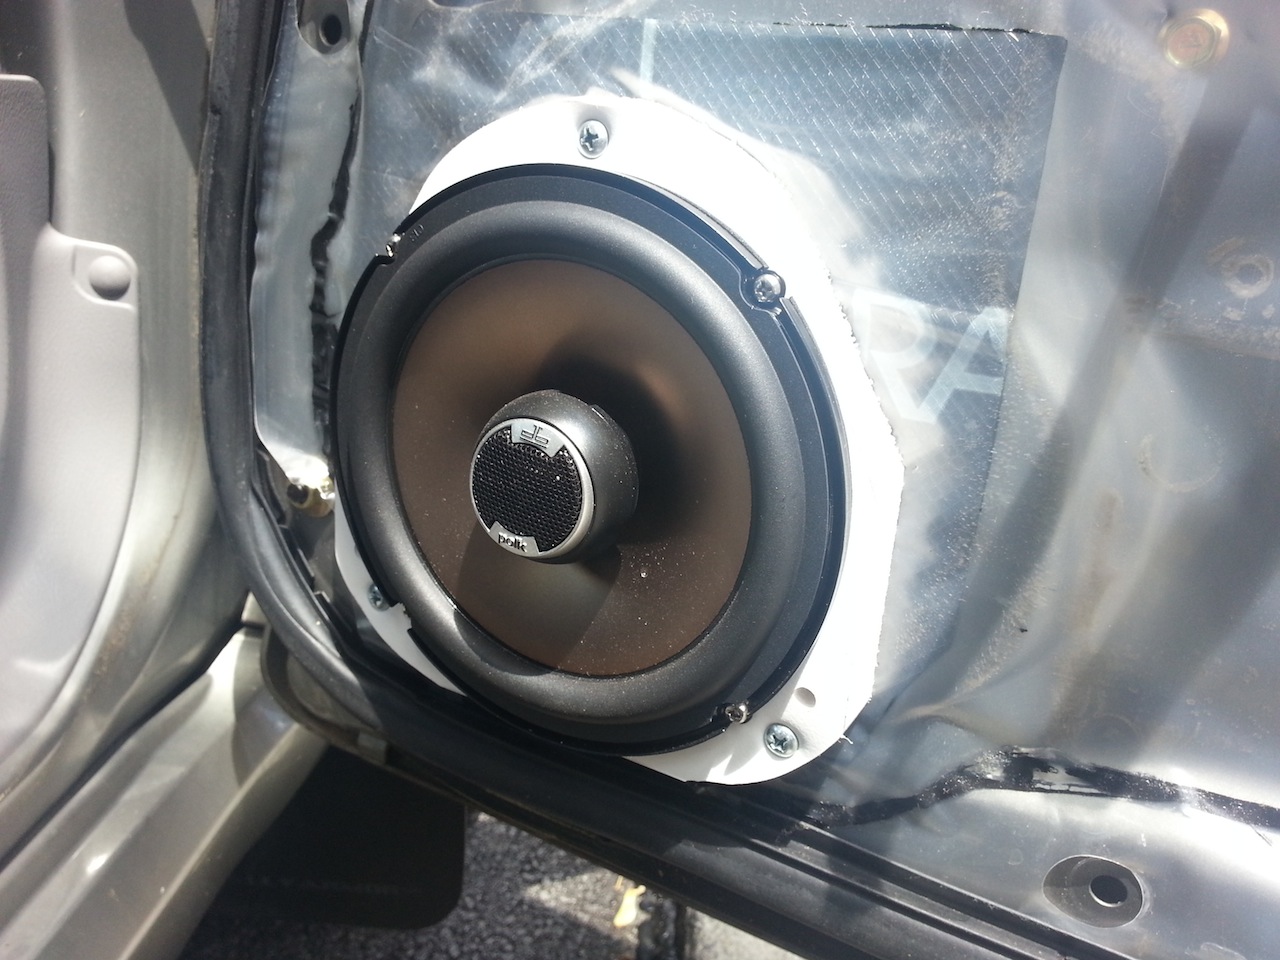
Test the sound and then reassemble the door, enjoying the wonder new noises emanating from your Fozzy. Additionally, you might want to test to ensure that the window properly lowers all the way without hitting the speaker magnet.
Finally, glamor shot: